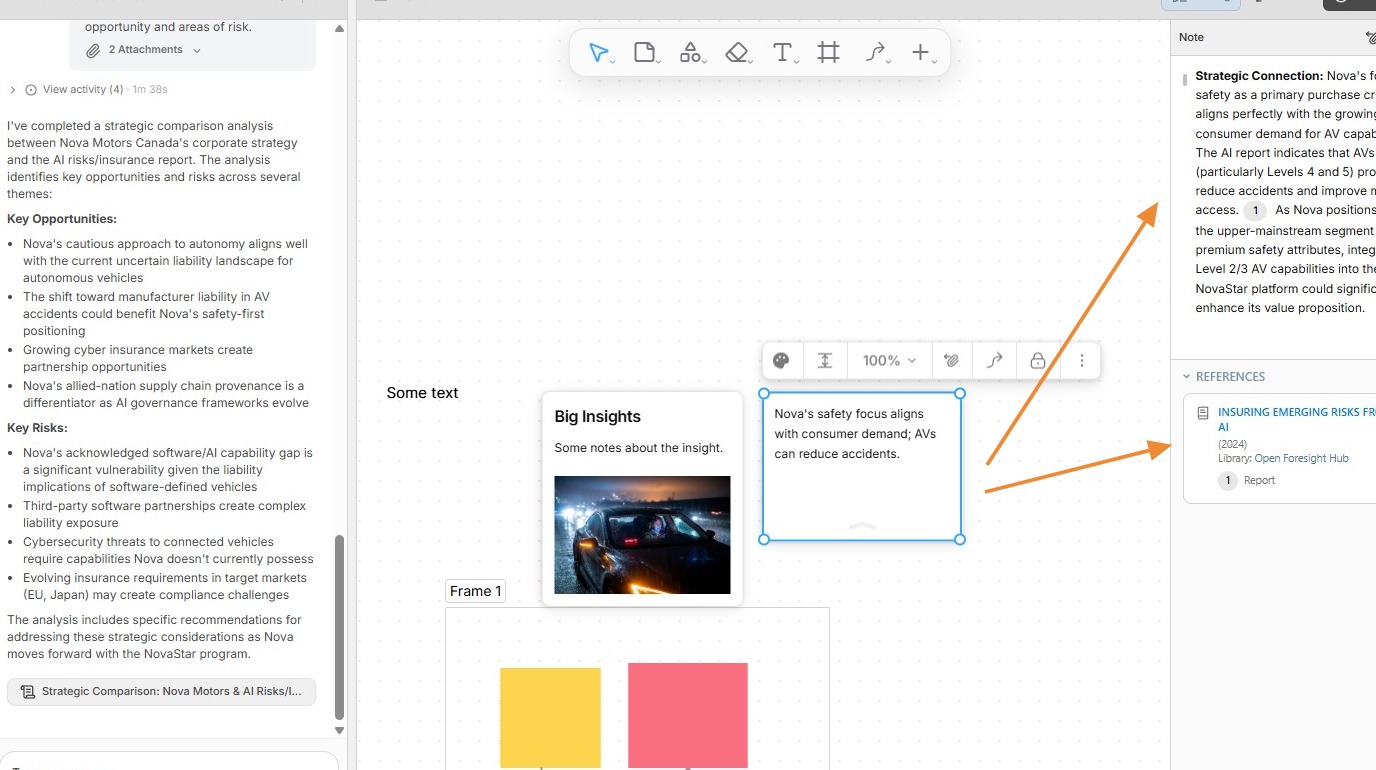
Learn how to create and edit whiteboards. This guide covers how to create different whiteboard objects, edit colors and other characteristics, and link objects to other artifacts in a project. You will also learn how to create and edit Perceptful Notes.
1. Every project in Perceptful.AI has a Project Whiteboard, which has the same capabilities as any other whiteboard.
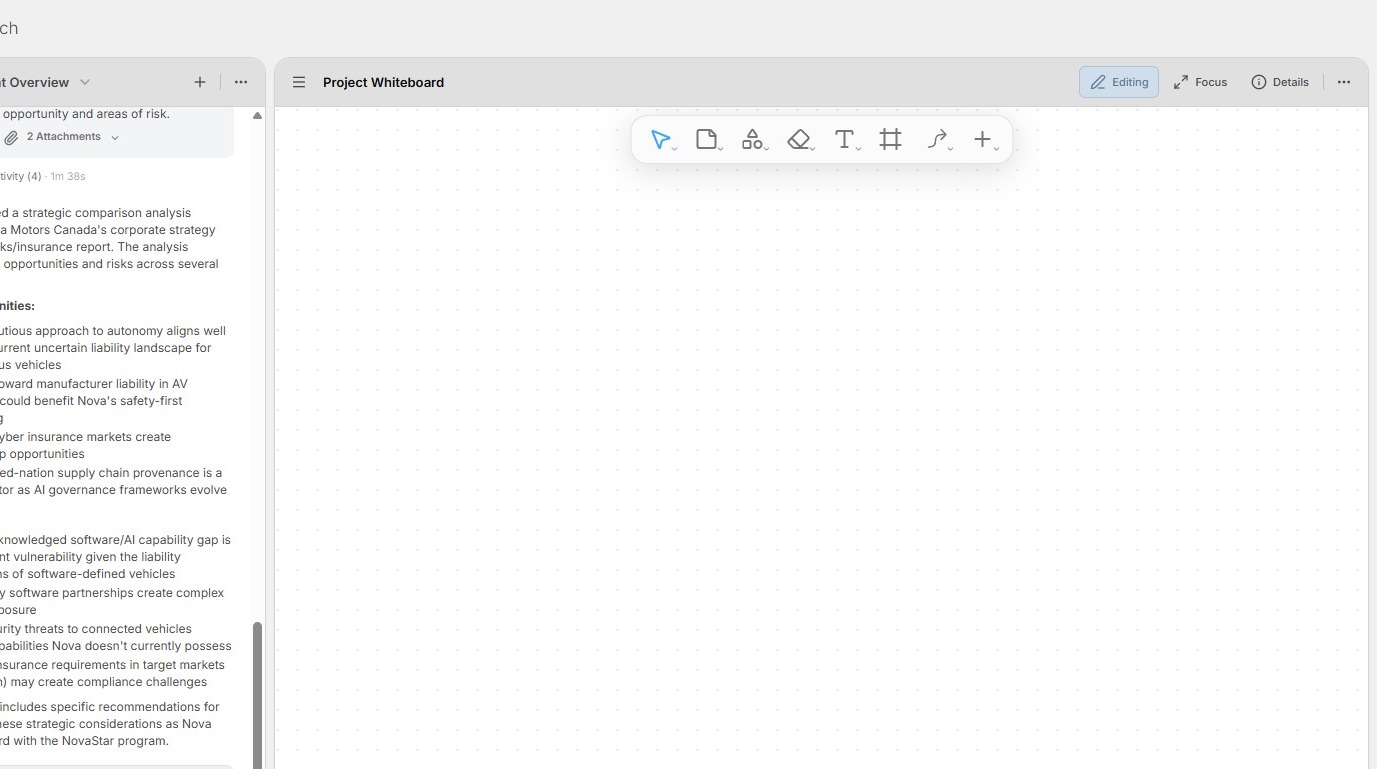
2. To create a new whiteboard, open the Artifacts menu and click the + button.
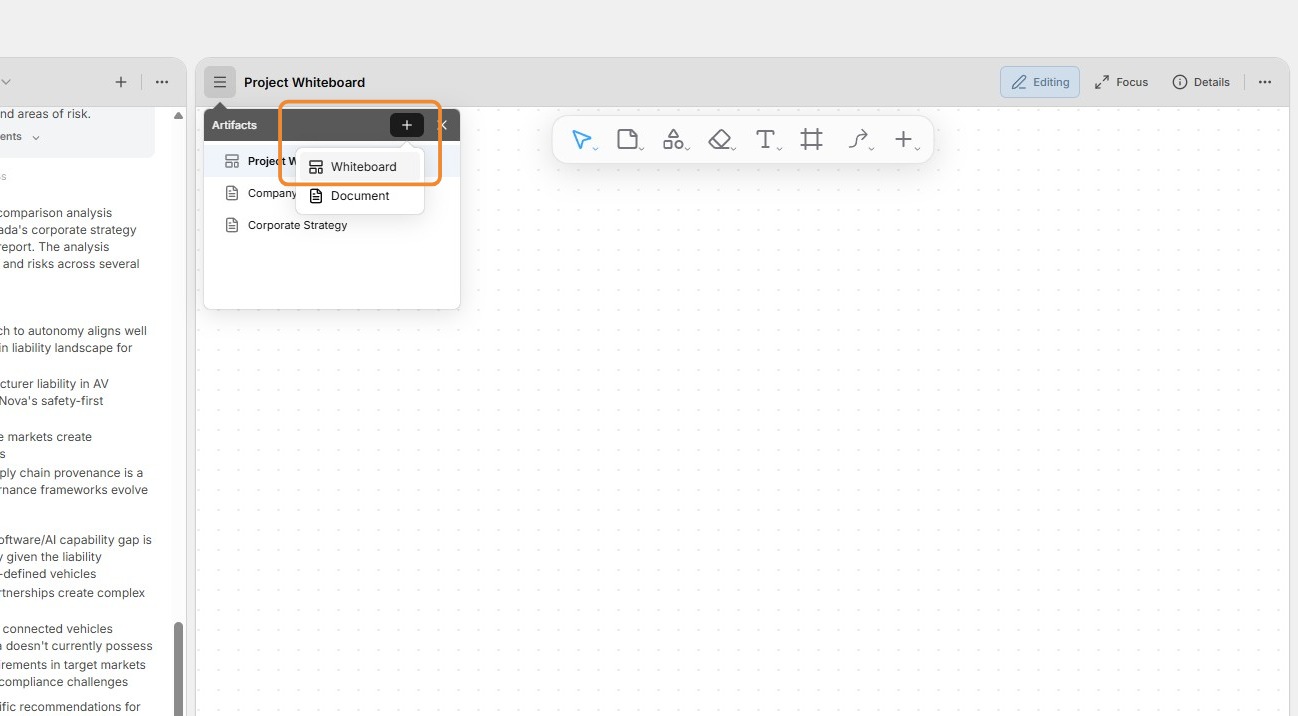
3. You can create a new whiteboard from an existing template or by selecting Blank Whiteboard.
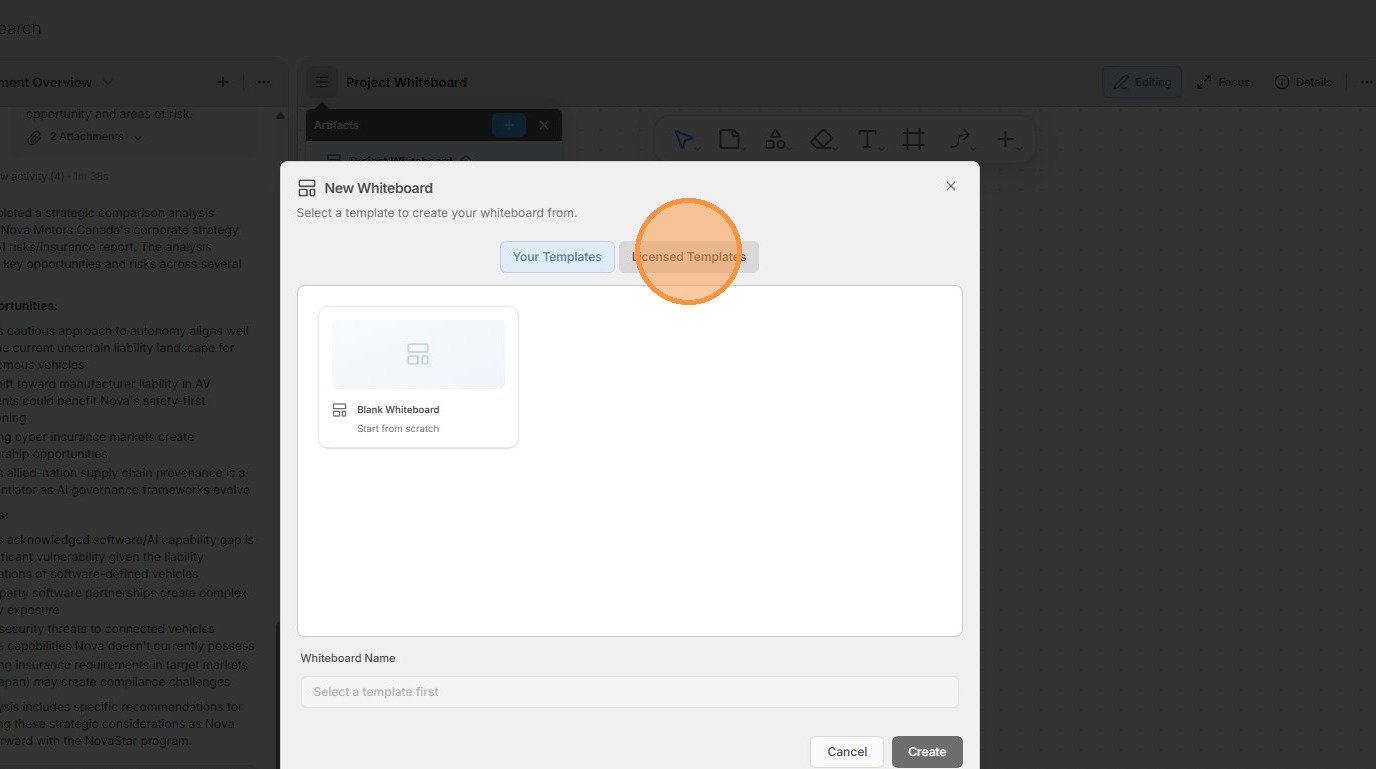
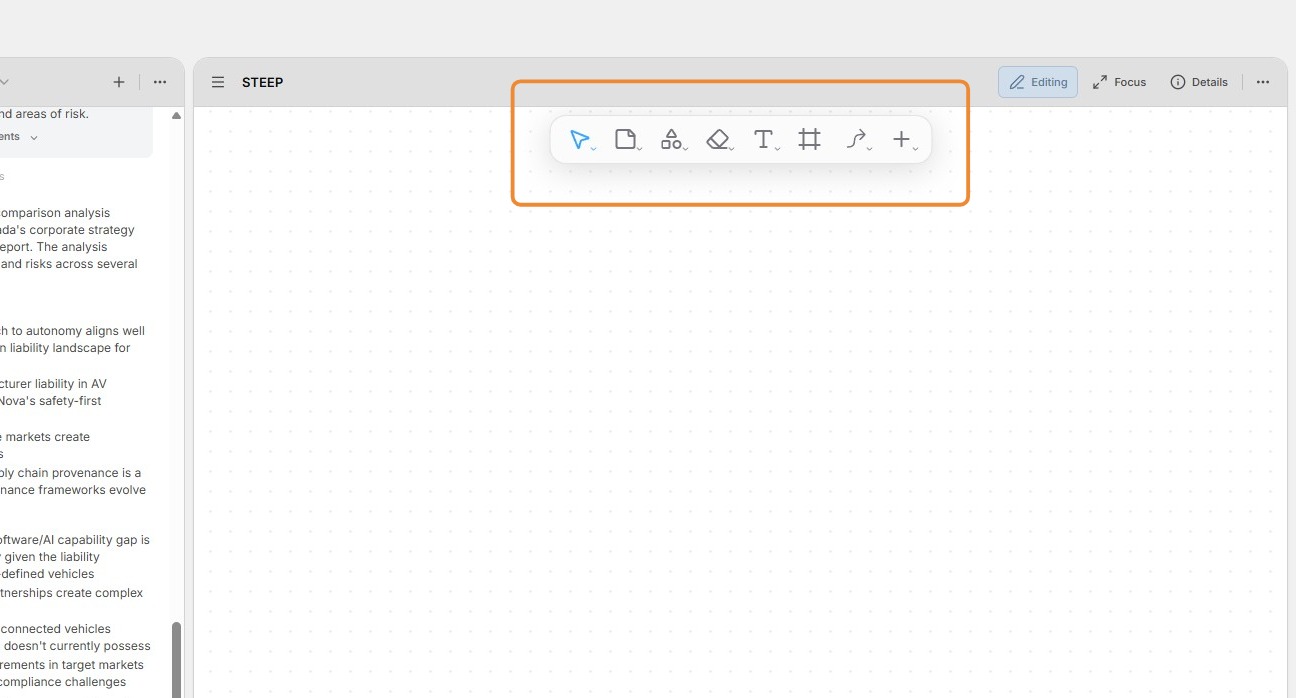
4. Every whiteboard has a menu at the top, providing quick access to all the objects that can be added to the whiteboard.
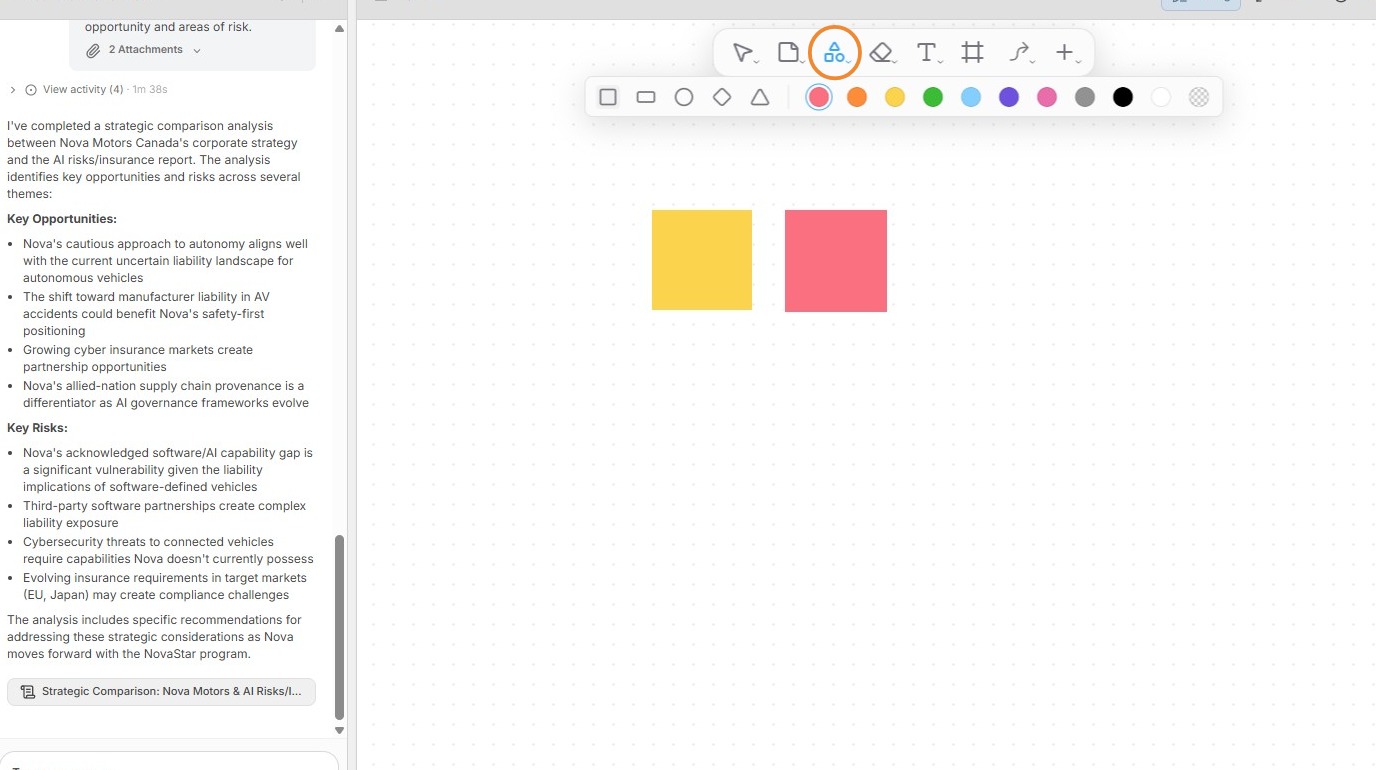
5. Clicking the shapes icon loads a sub-menu of different shapes and colors. Simply click on the whiteboard to add a shape. You can quickly add multiple shapes by clicking repeatedly.
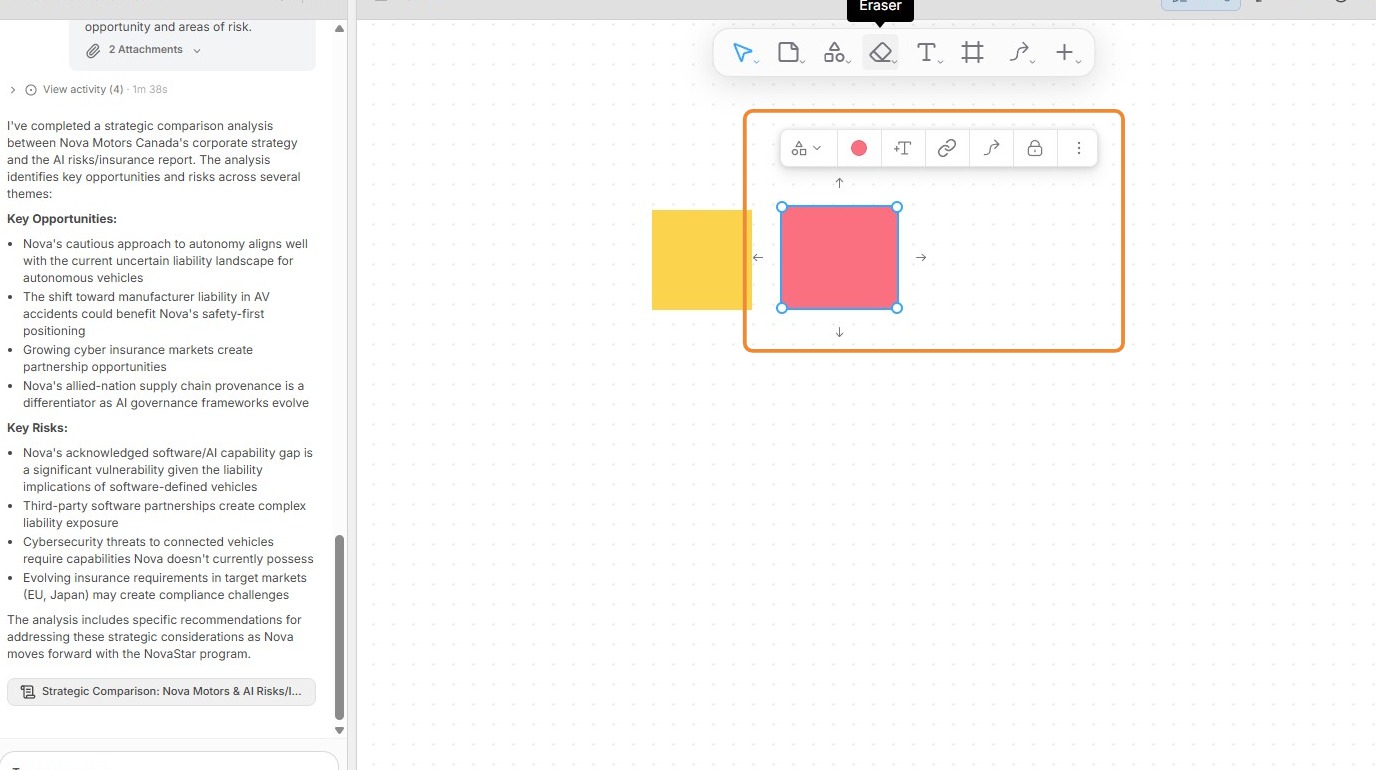
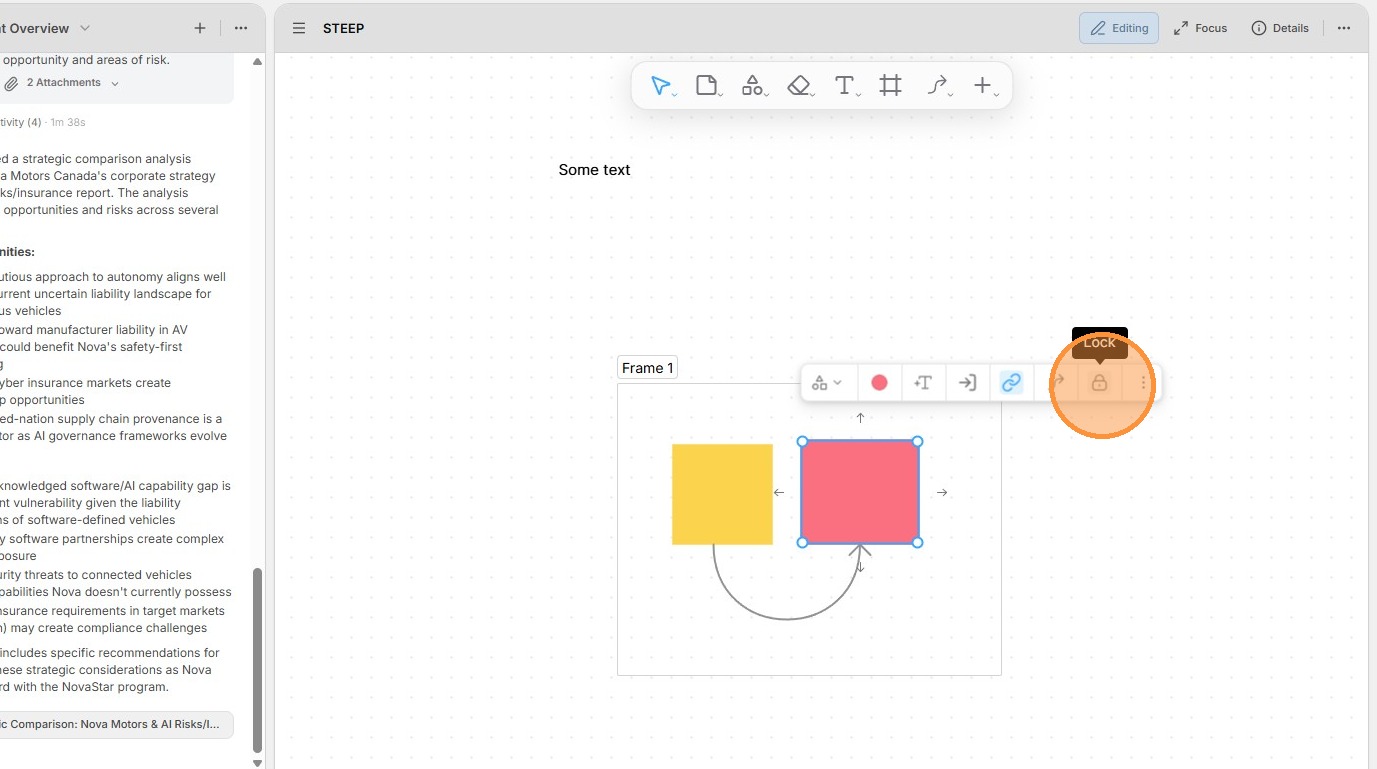
6. Selecting an object allows you to modify its dimensions by dragging the edges. It also opens an object-specific menu to edit the color, font, and shape, link to project artifacts, lock the object, and perform other tasks.
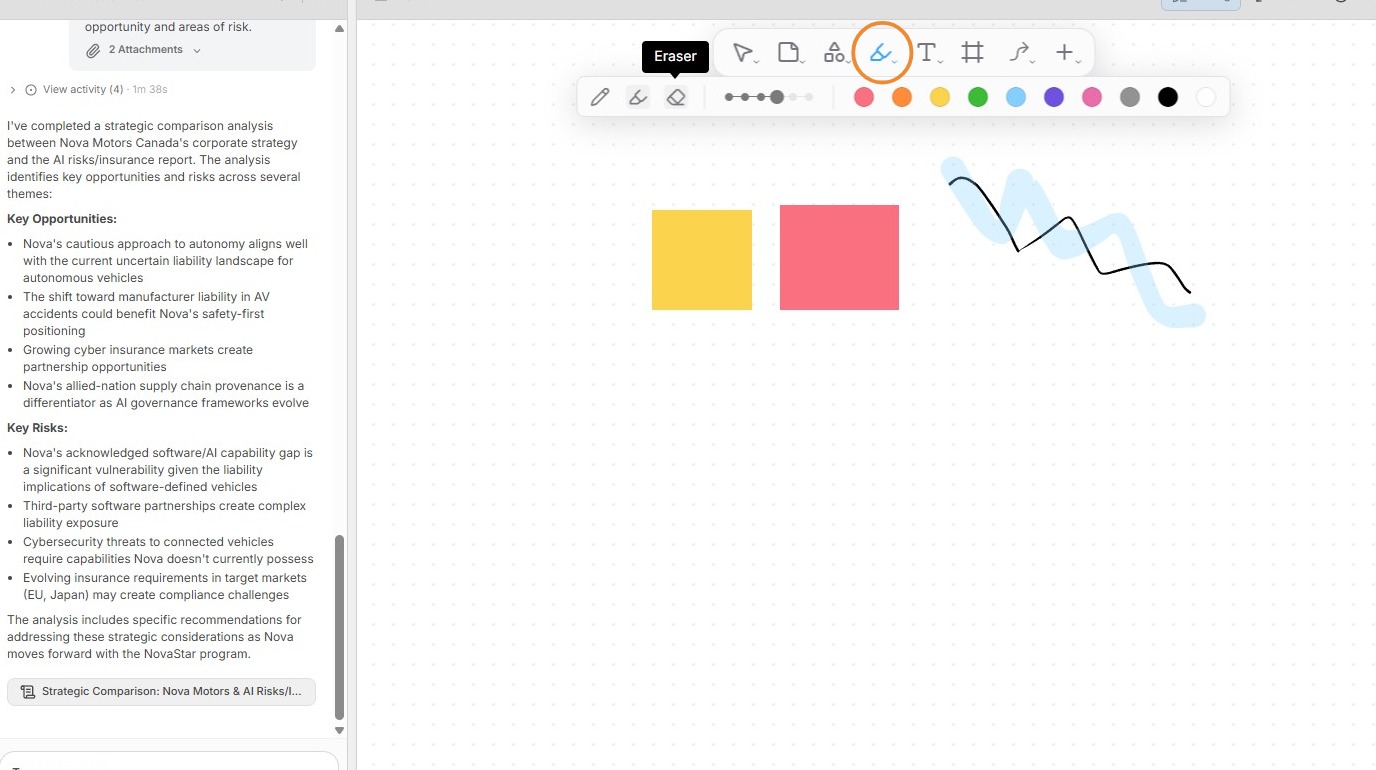
7. The icon to the right of shapes provides a free-form pen, highlighter, and eraser, along with settings for color and stroke width.
8. The T icon provides several options for creating text objects, including labels, rich text boxes, and lists. Clicking a text object opens a text-specific menu to change alignment, font, formatting, and more.
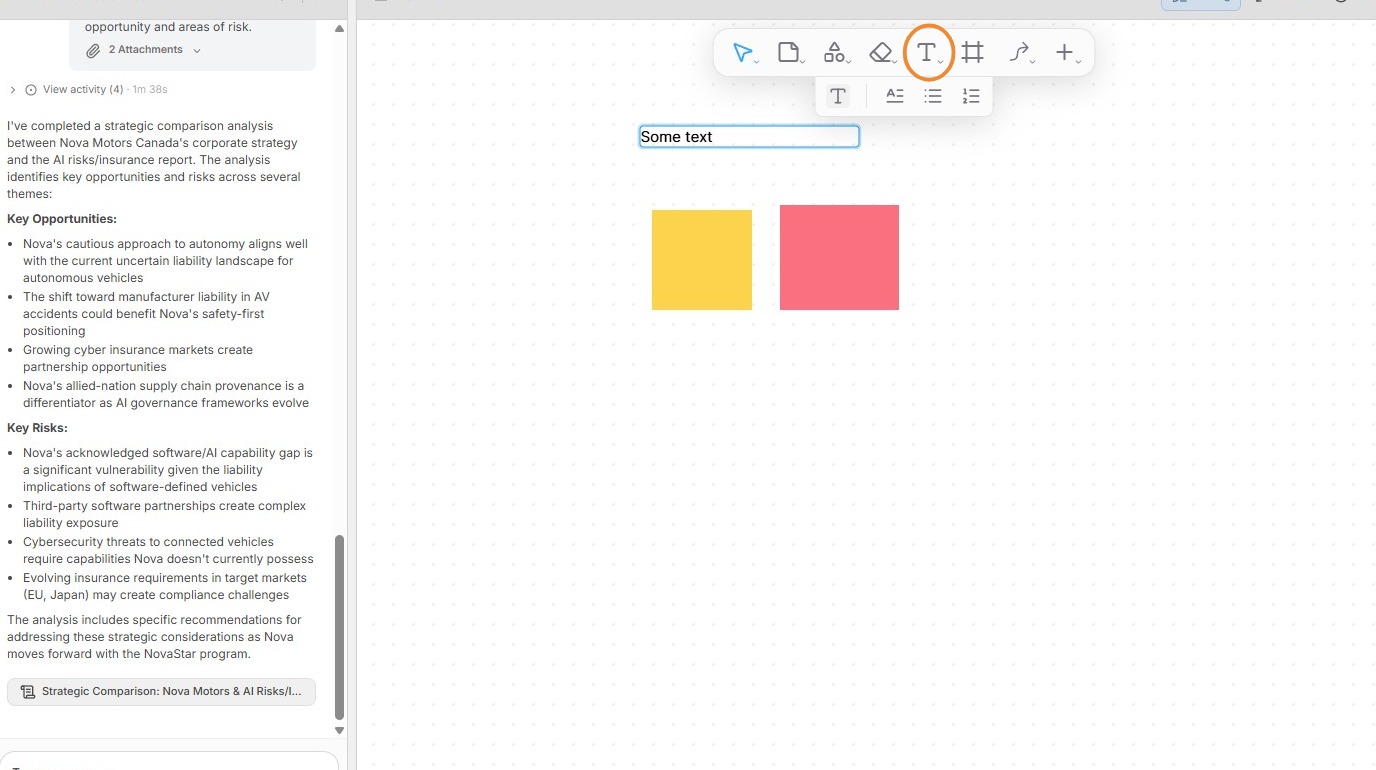
9. The arrows icon provides a set of arrows that can be used to show the relationships between objects.
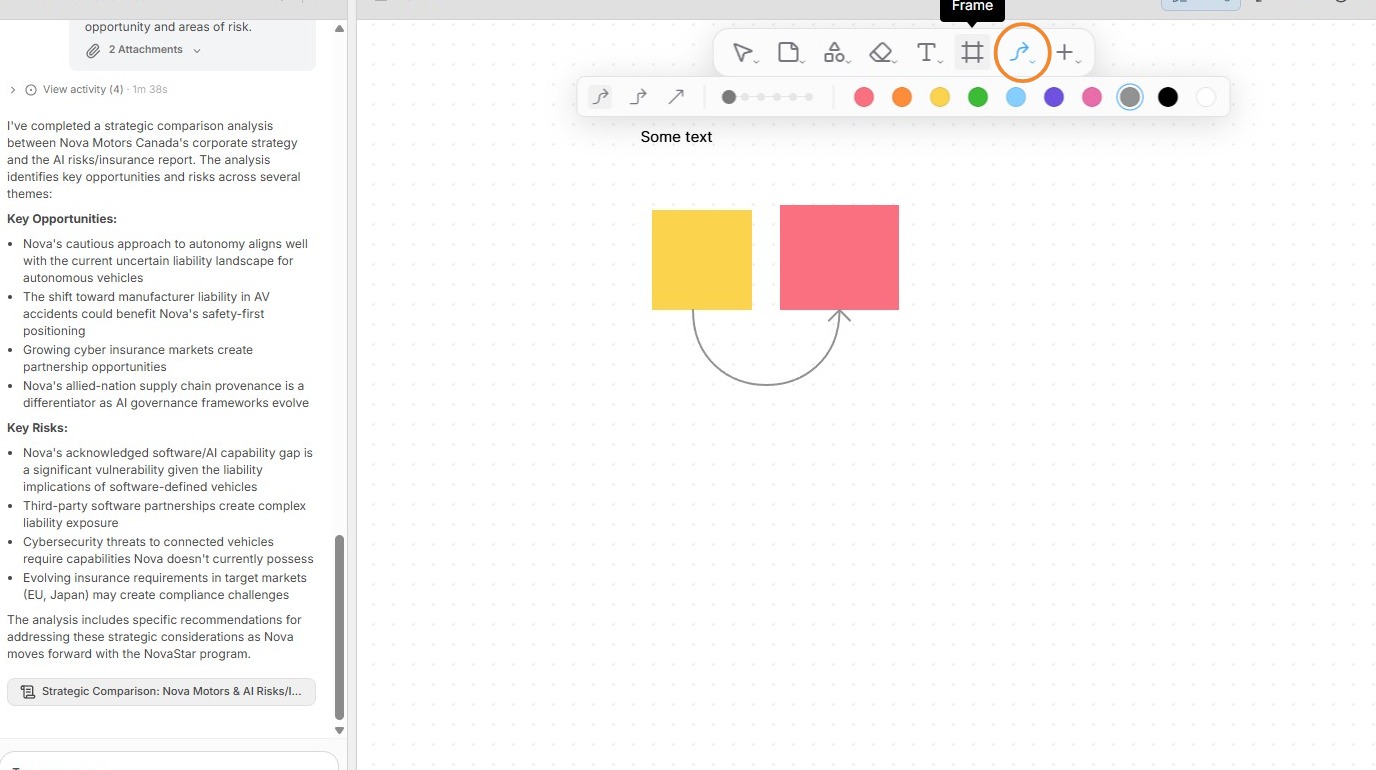
10. Objects can be grouped together by selecting multiple objects and clicking the Group button in the context menu.
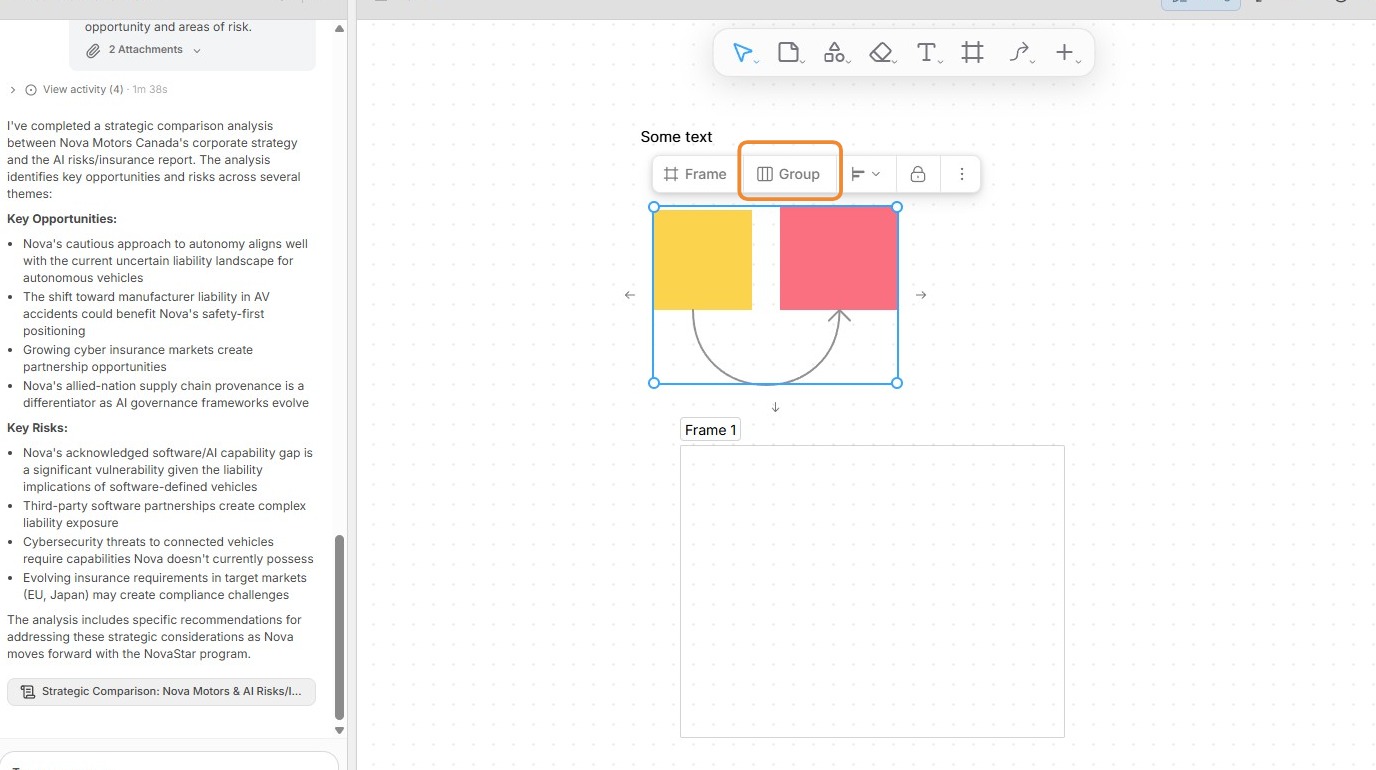
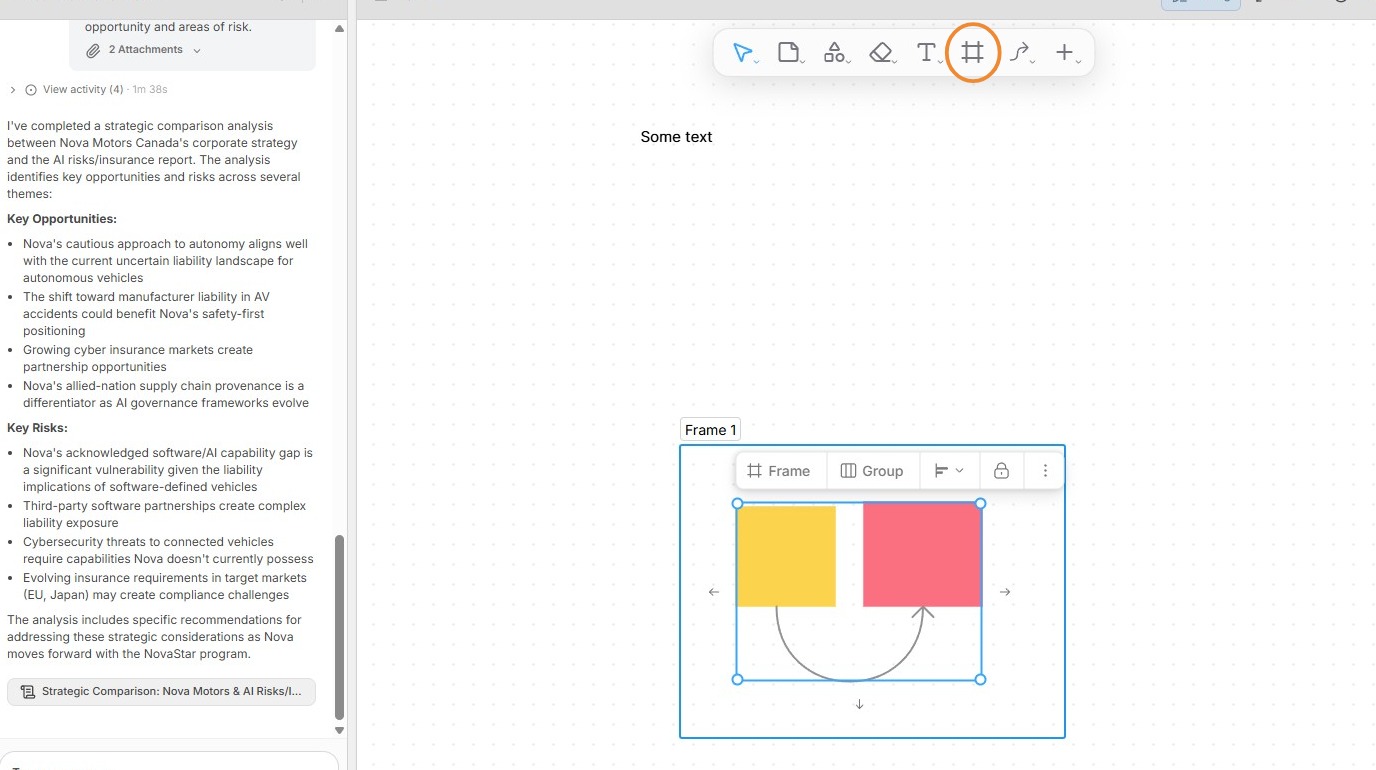
11. Alternatively, placing objects inside a frame object will cause all of those objects to move together with the frame. Click the frame icon to create a frame object.
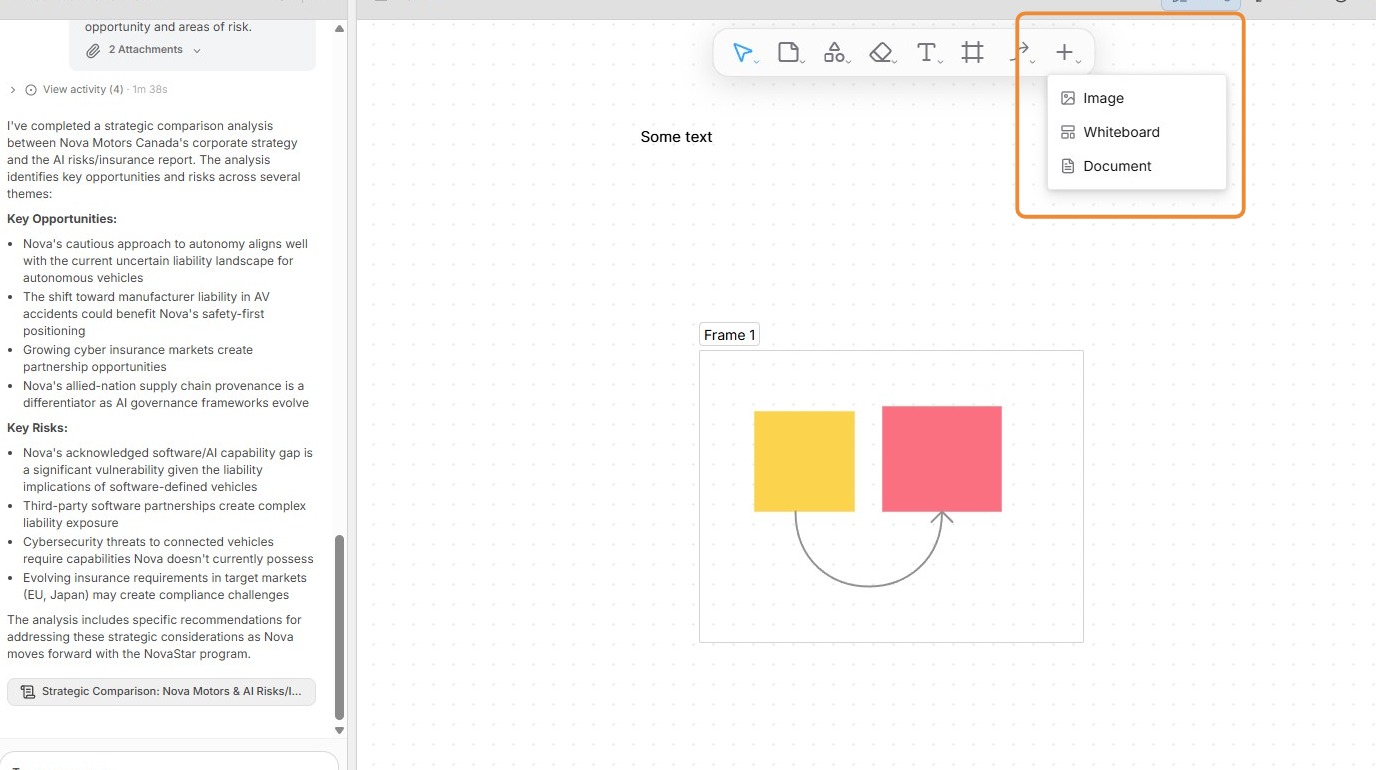
12. You can add images to whiteboards. You can also create whiteboard and document artifacts as children of a whiteboard, which is useful for more complex projects or multi-step workflows.
13. Objects can be locked and unlocked. This ensures that objects intended to remain stationary do not accidentally move when users interact with the whiteboard.
14.
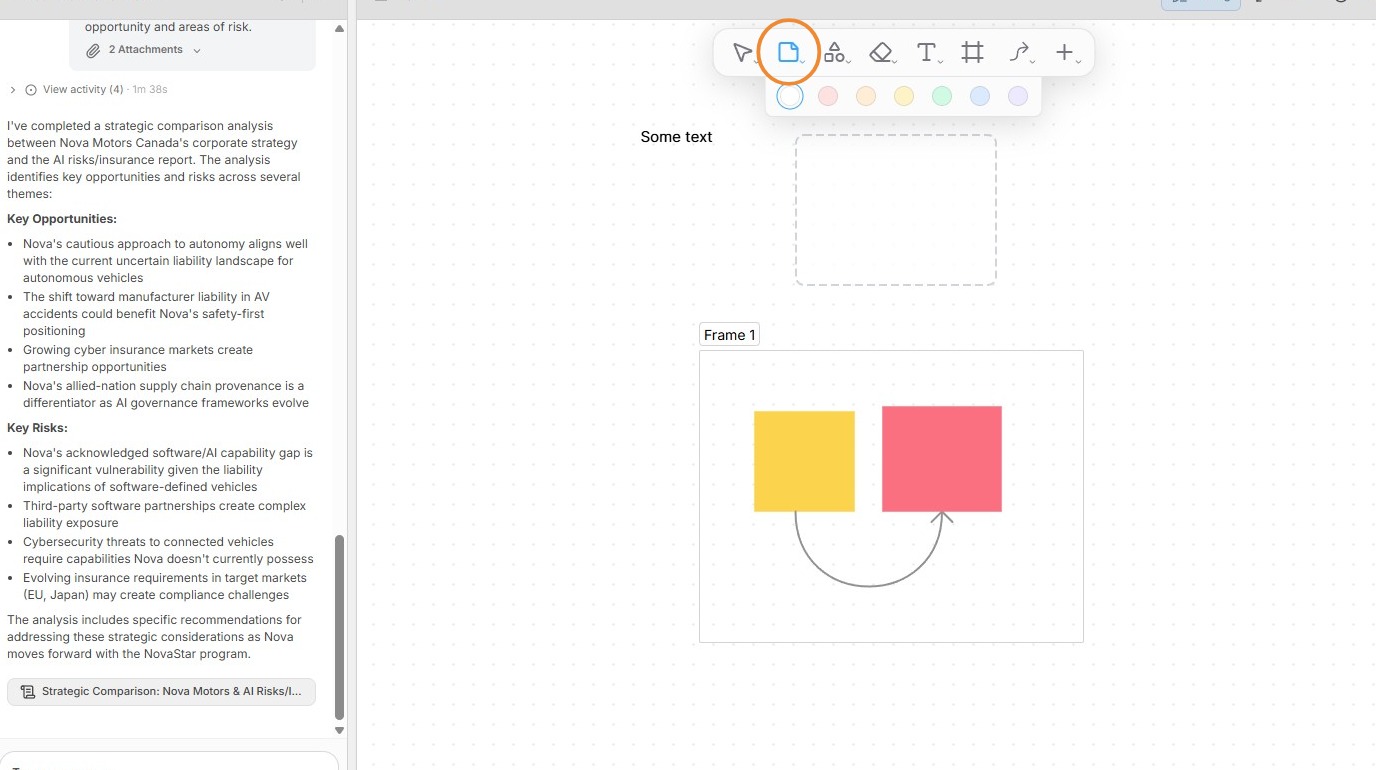
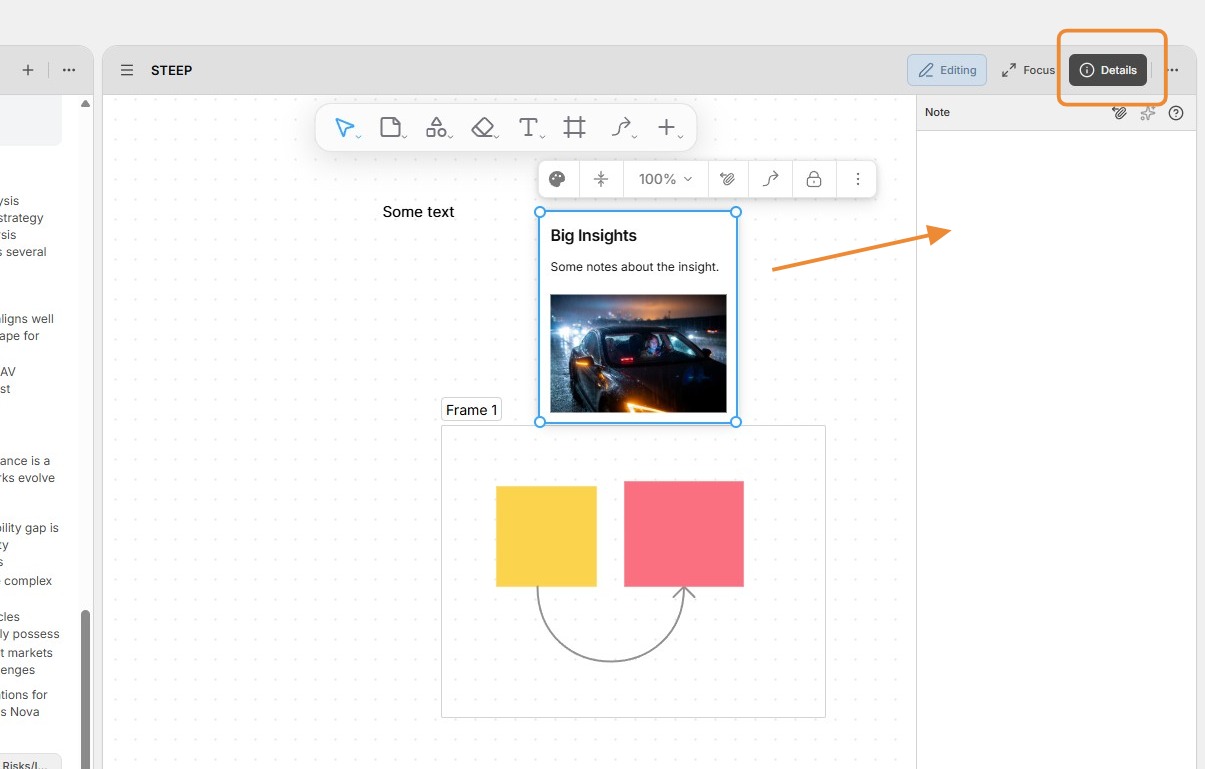
You can add Perceptful Notes to whiteboards by clicking the Note icon.
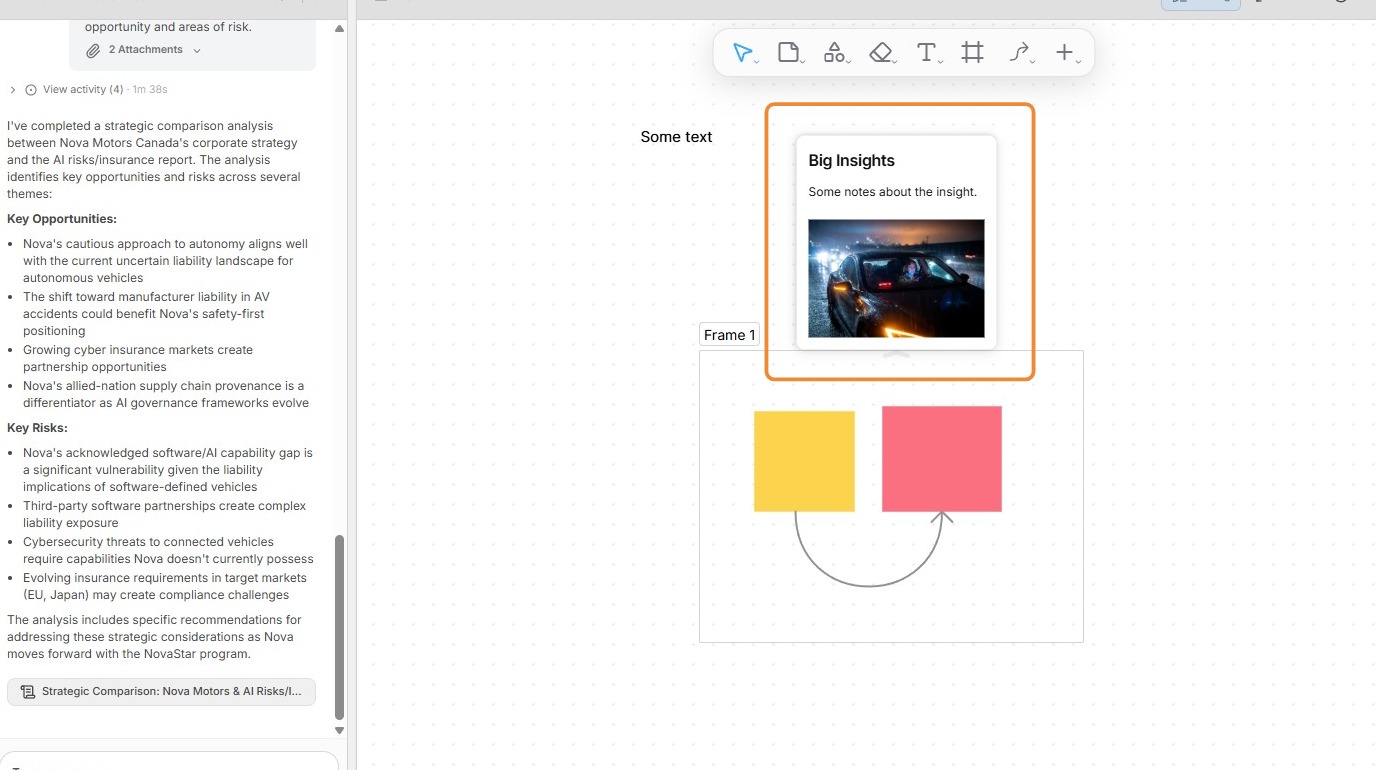
Perceptful Notes are like sticky notes, but they track all the details about a particular insight or note added to a whiteboard.
15. The surface of a Perceptful Note supports rich text formatting, including images. This is done by loading the formatting menu by pressing the / key.
16. When the Details button in the top-right corner is active, selecting a Perceptful Note will load a detailed notes pane. All users can add notes, and this pane supports the same capabilities available in all document editors.
17. You can also add Perceptful Notes to a whiteboard directly from Task Results. When a Task Result is open, highlight text and click the Note icon in the context menu. Alternatively, click the + icon that appears beside paragraphs and bullet points.
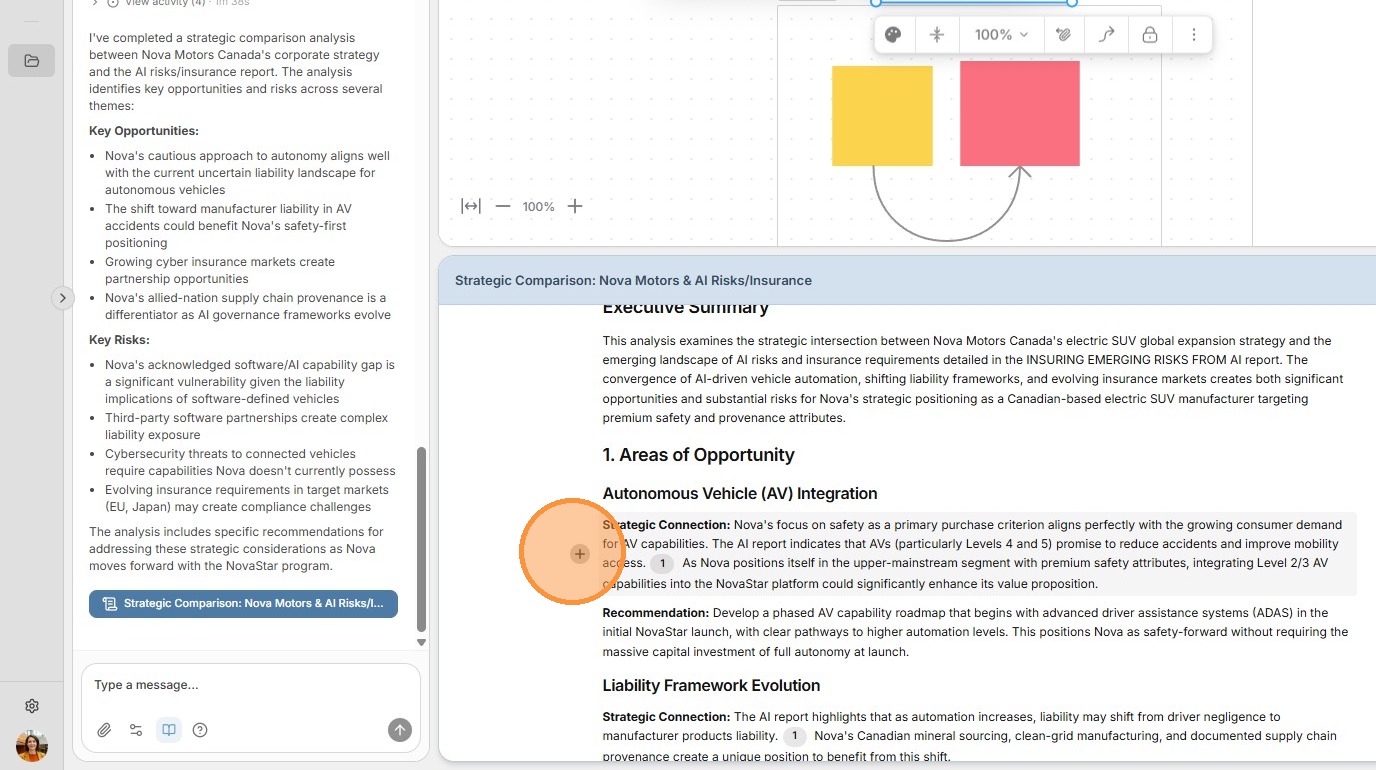
18. Perceptful Notes added from Task Results carry over the detailed text and references to source materials. You can click on these references to open the relevant excerpts in the source reports.