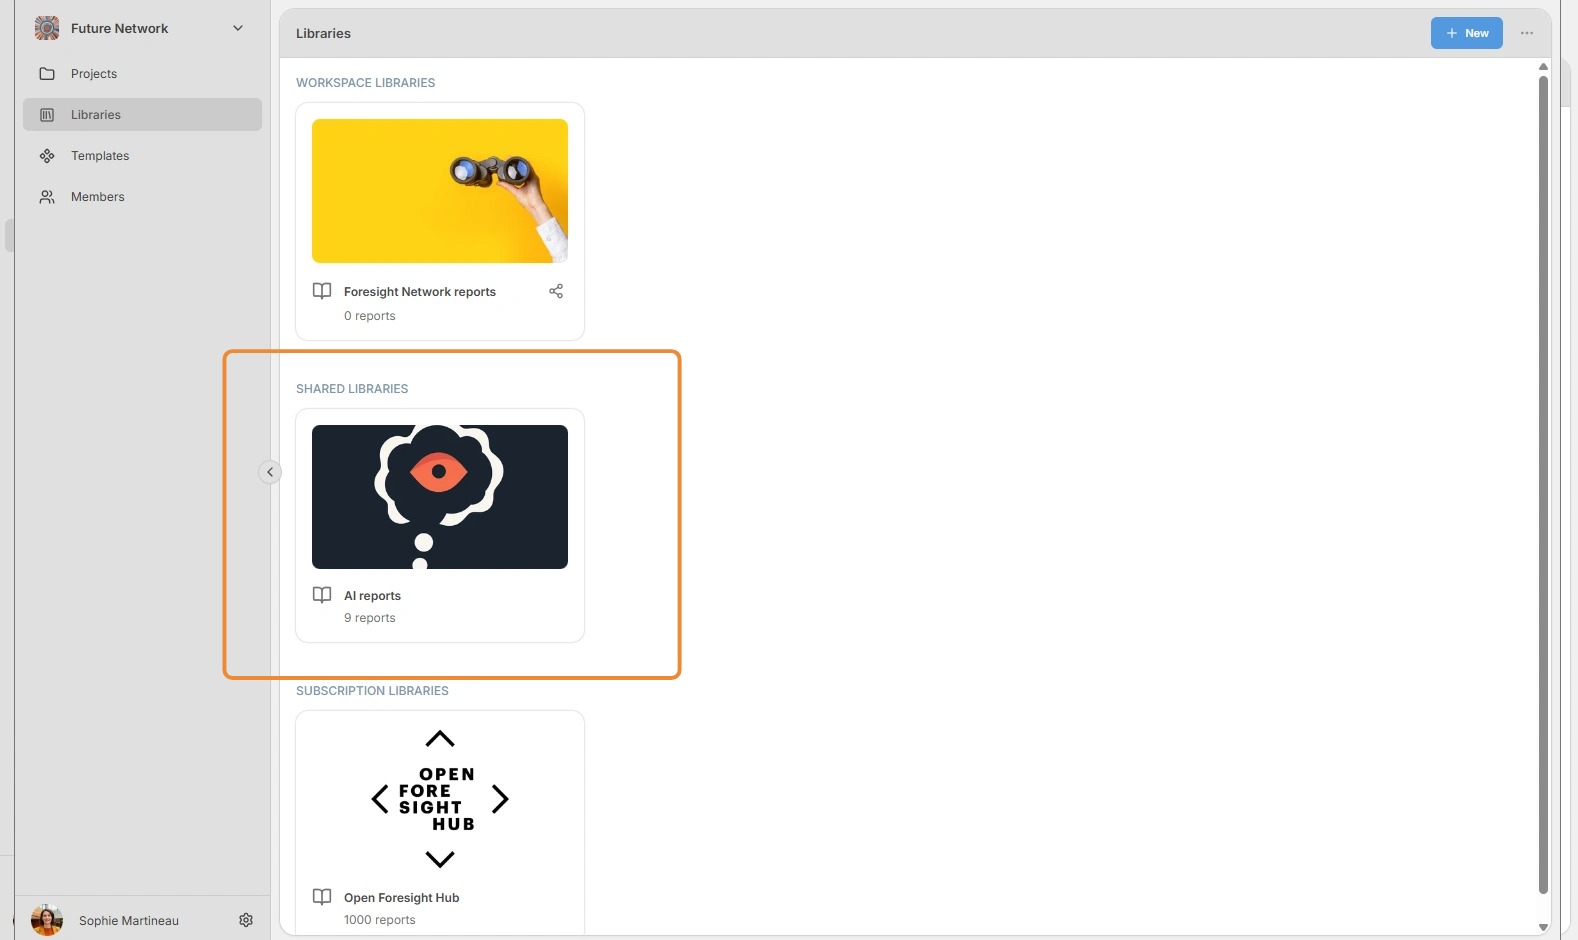
Learn about the different types of libraries — workspace, shared, and licensed. Discover how to create new libraries, upload reports, and share libraries between workspaces. This guide also covers managing sharing permissions to ensure teams have access to important documents.
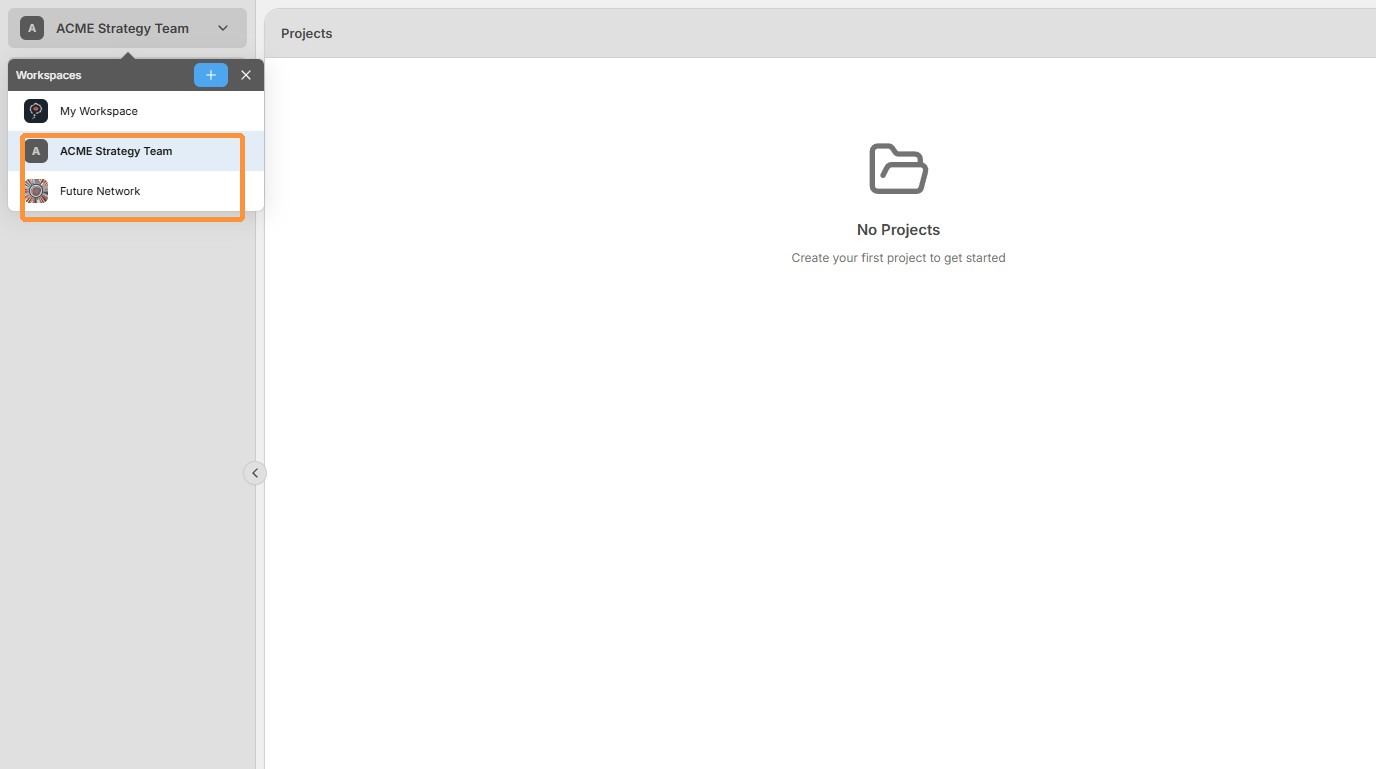
1. For this overview, we will see how libraries work inside and across workspaces. It is important to first understand that the user is a member of two workspaces: ACME Strategy Team and Future Network.
2.
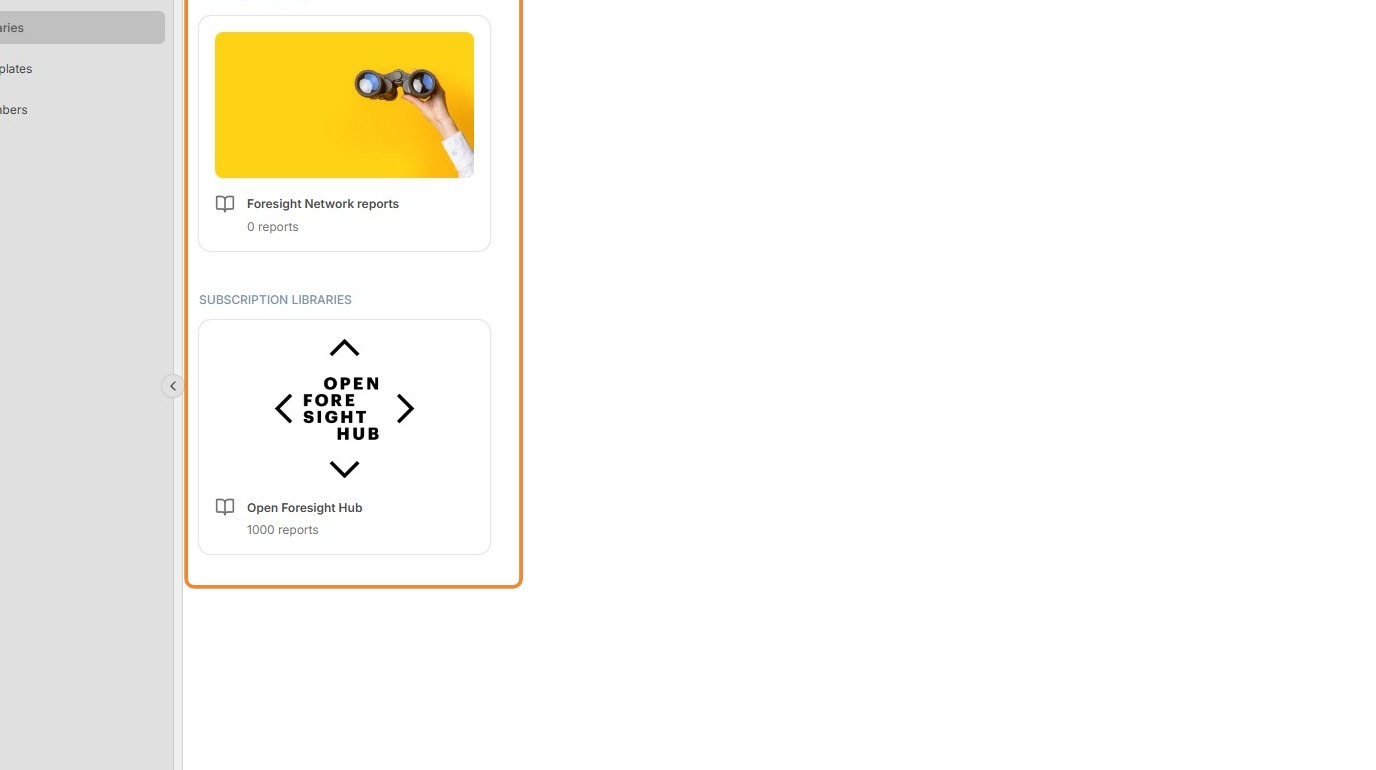
Navigate to the Libraries section of the ACME Strategy Team workspace.
You can see that there is currently one shared library and one Subscription library accessible in the ACME Strategy Team workspace.
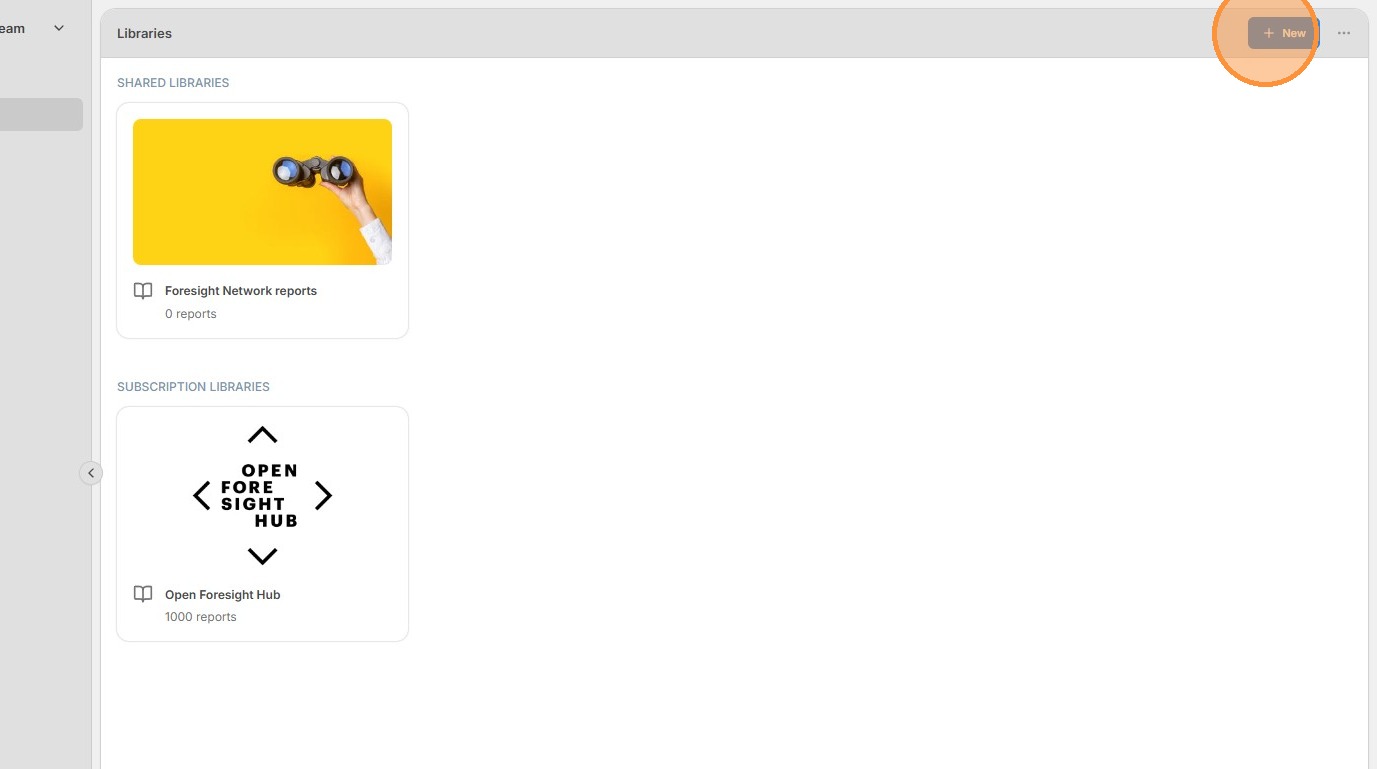
3. To create a new Workspace library, click the + New button in the top-right corner.
4. Provide the library with a name, and optionally with an image, before clicking Create Library.
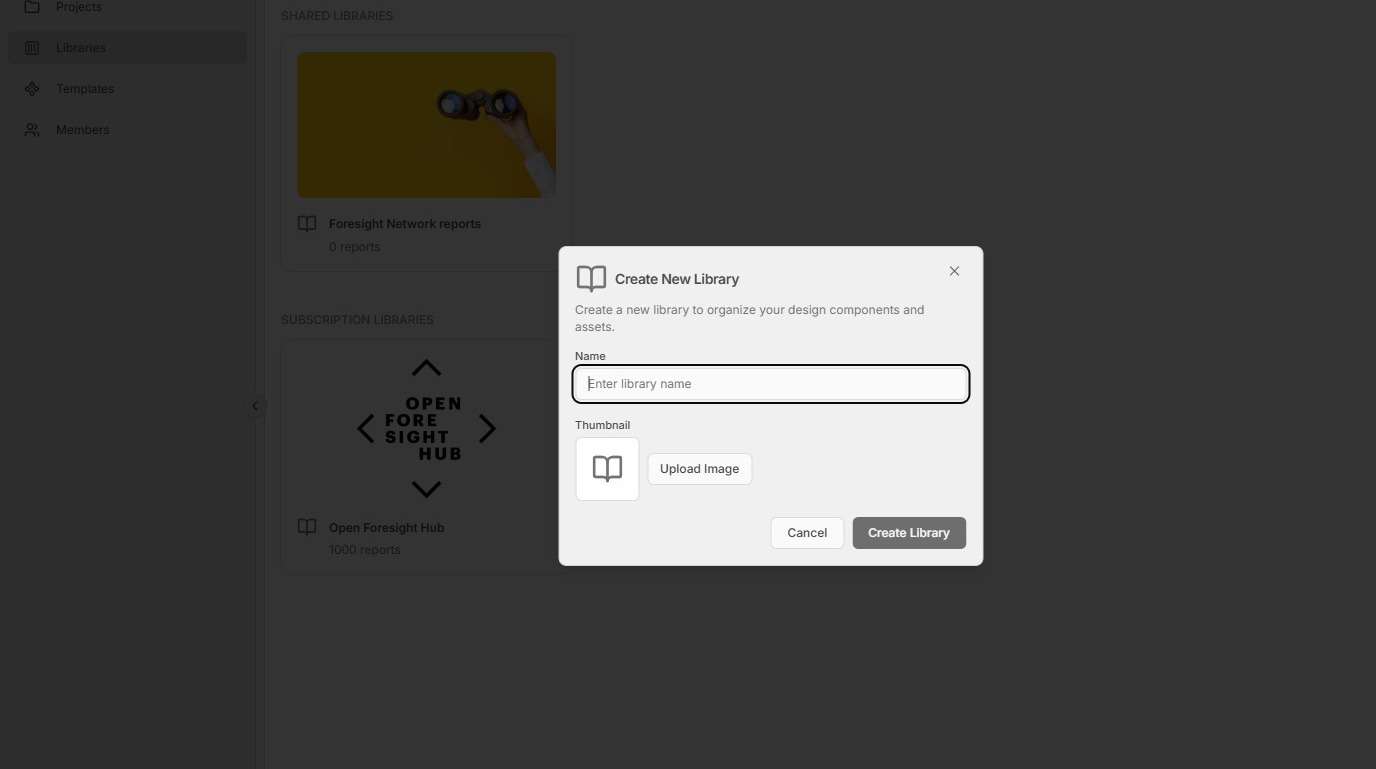
5.
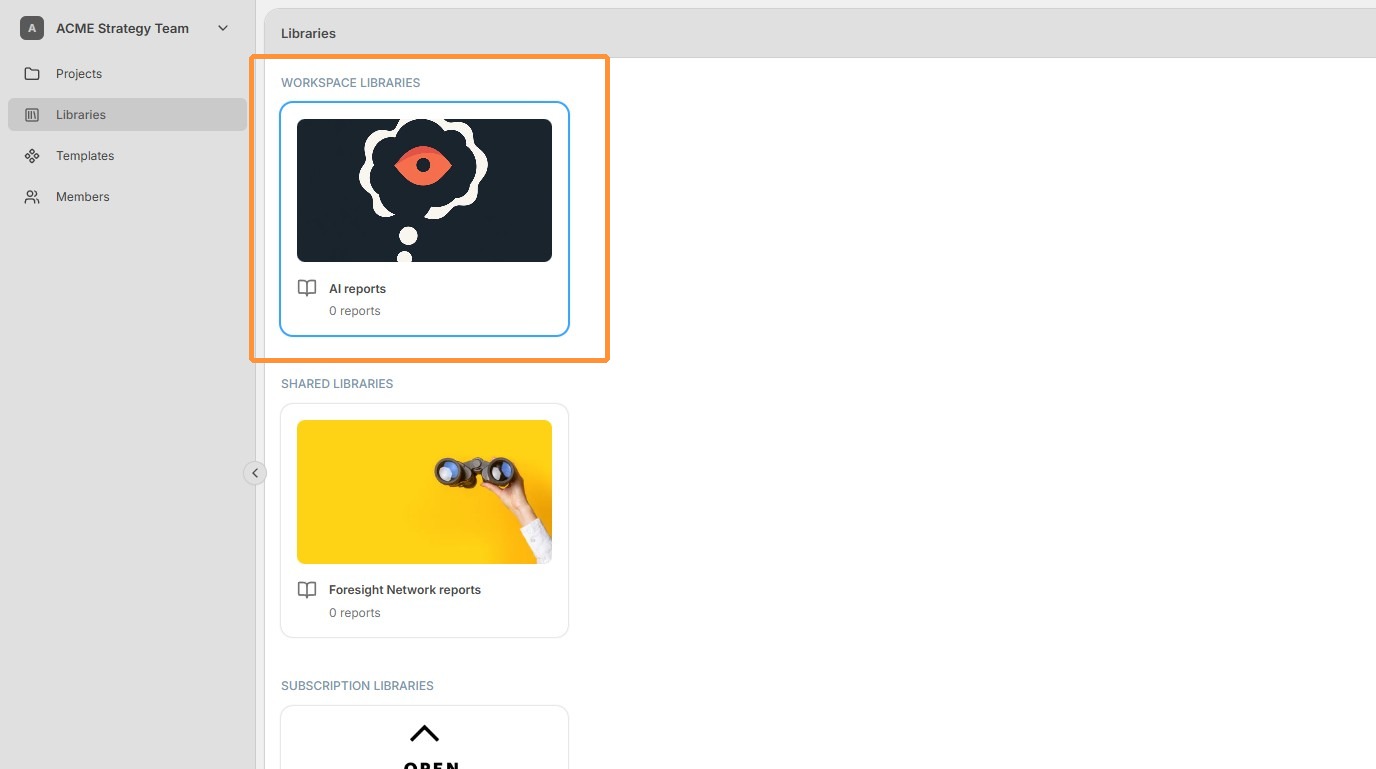
The new Workspace library is now listed in the Libraries section.
To add documents to a workspace library, double-click the library.
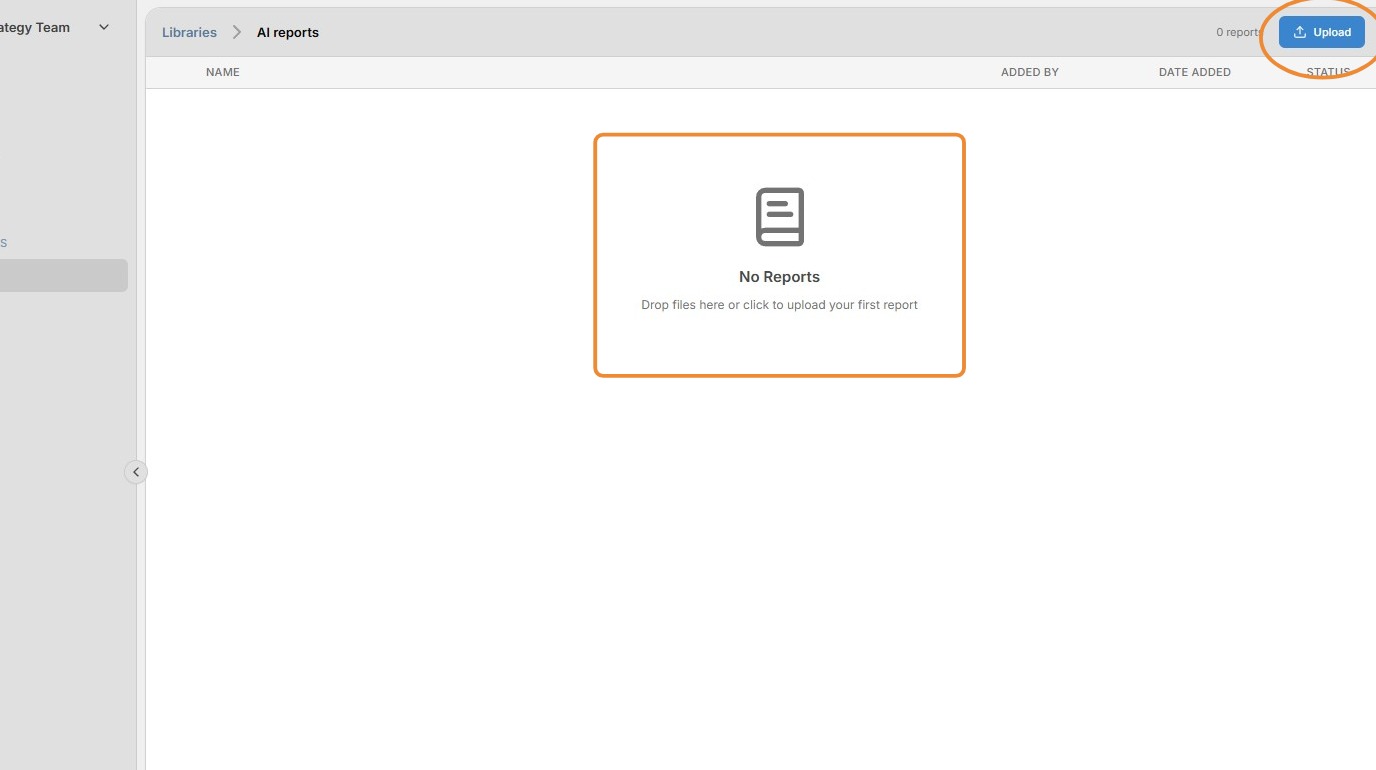
6. To add reports to a library, click the Upload button in the top-right corner, or drag documents onto the main pane. You can upload multiple documents at a time.
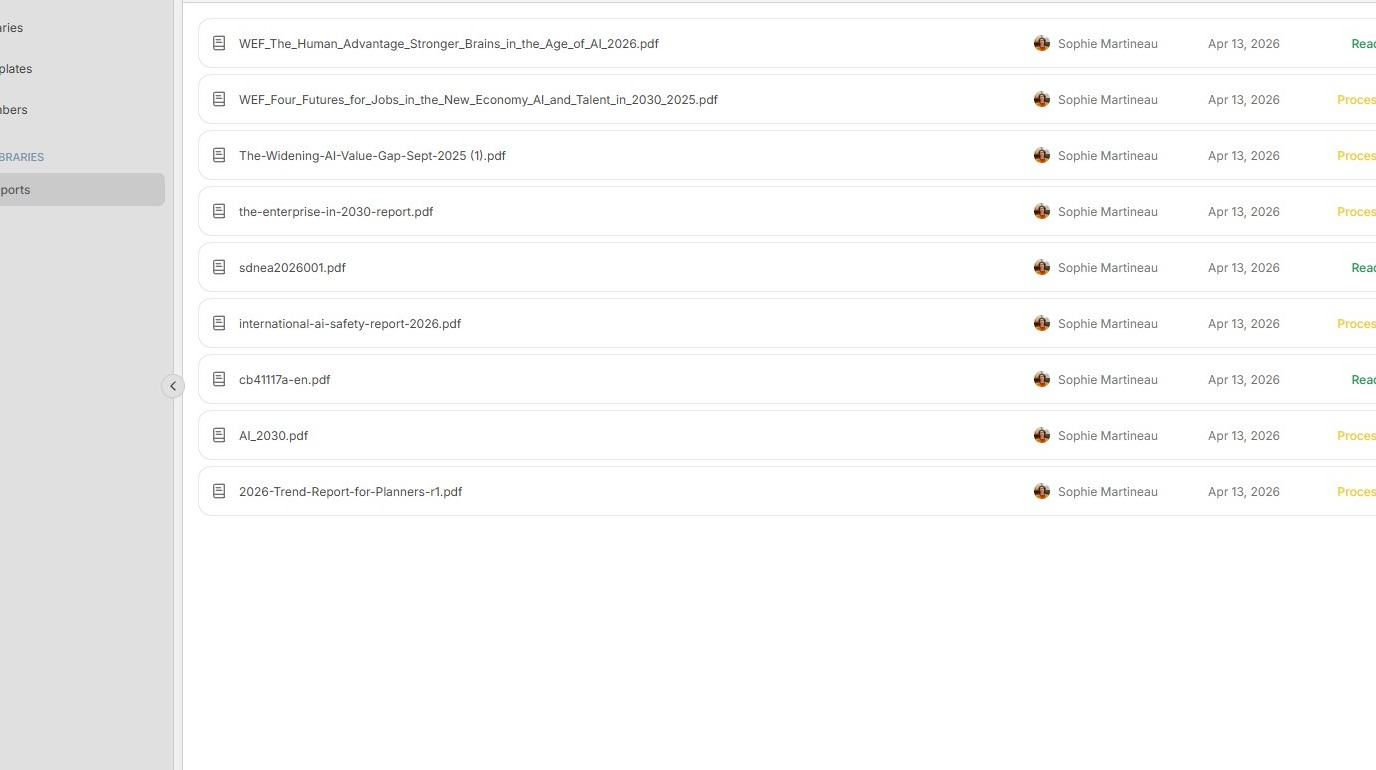
7. The status of each document is shown in the right column. It progresses from Uploading to Uploaded, then Processing, before finally becoming Ready.
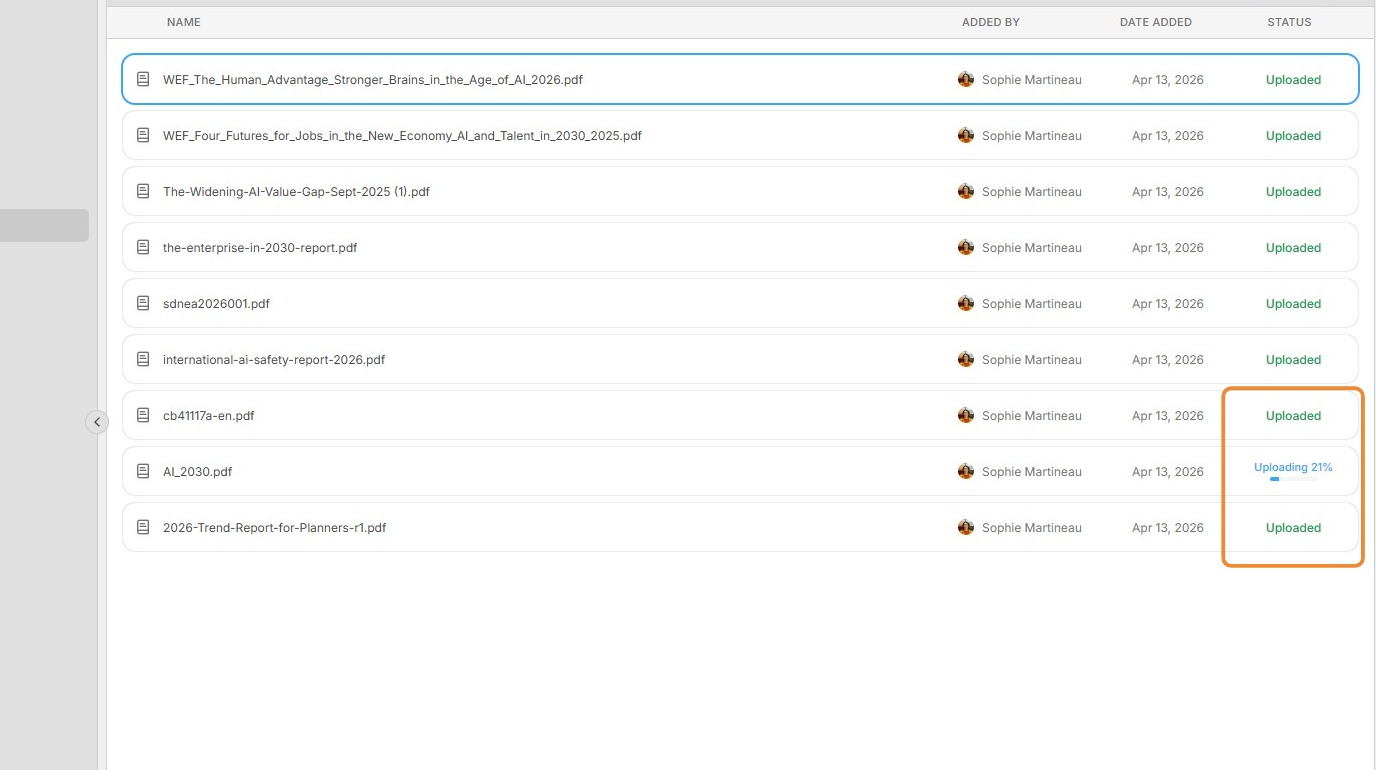
8. Processing may take several minutes before documents are ready.
9.
Once documents are Ready, they can be found by the AI agents.
Note: In rare cases and within 1 minute of a report becoming Ready, the report's content may not yet be found by AI agents. This is a known issue that will be fixed in a future release.
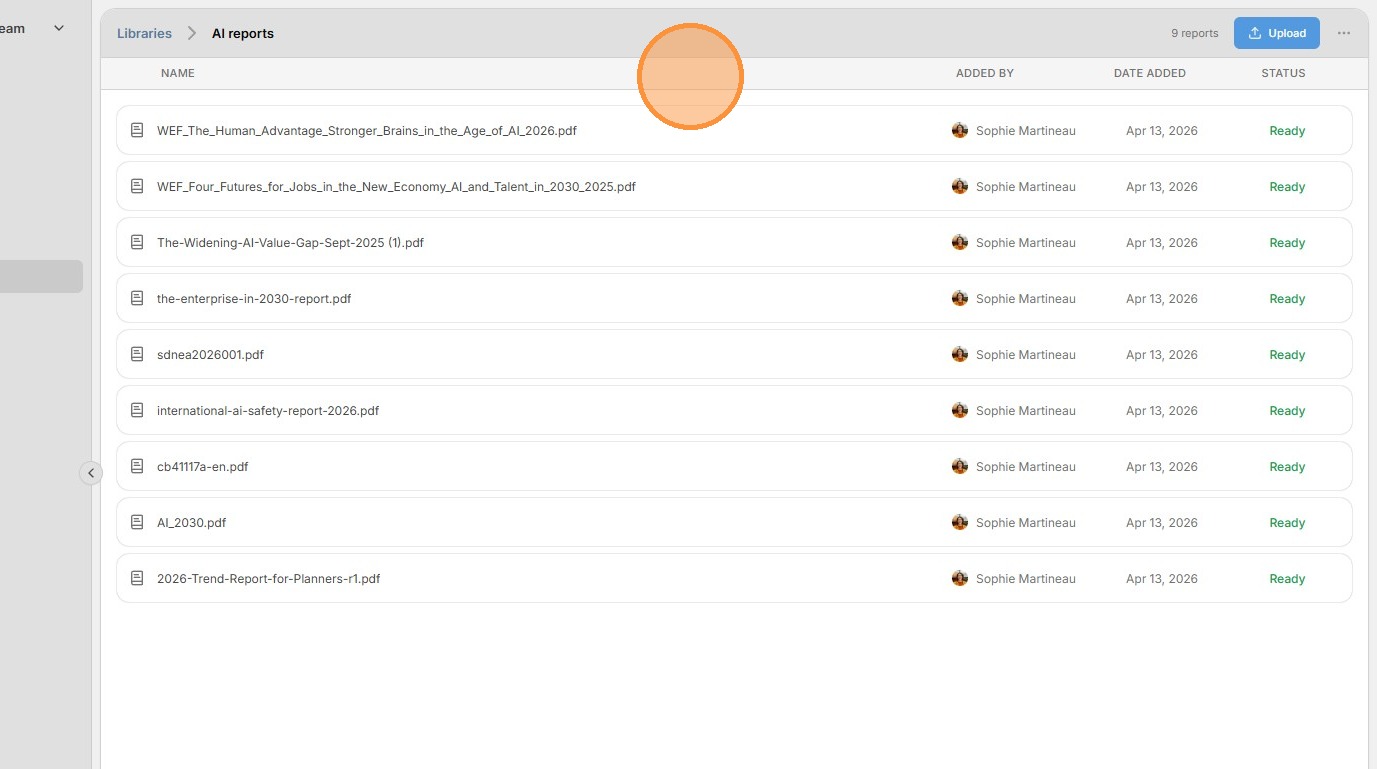
10. You can view any document in a library by double-clicking its entry in the list.
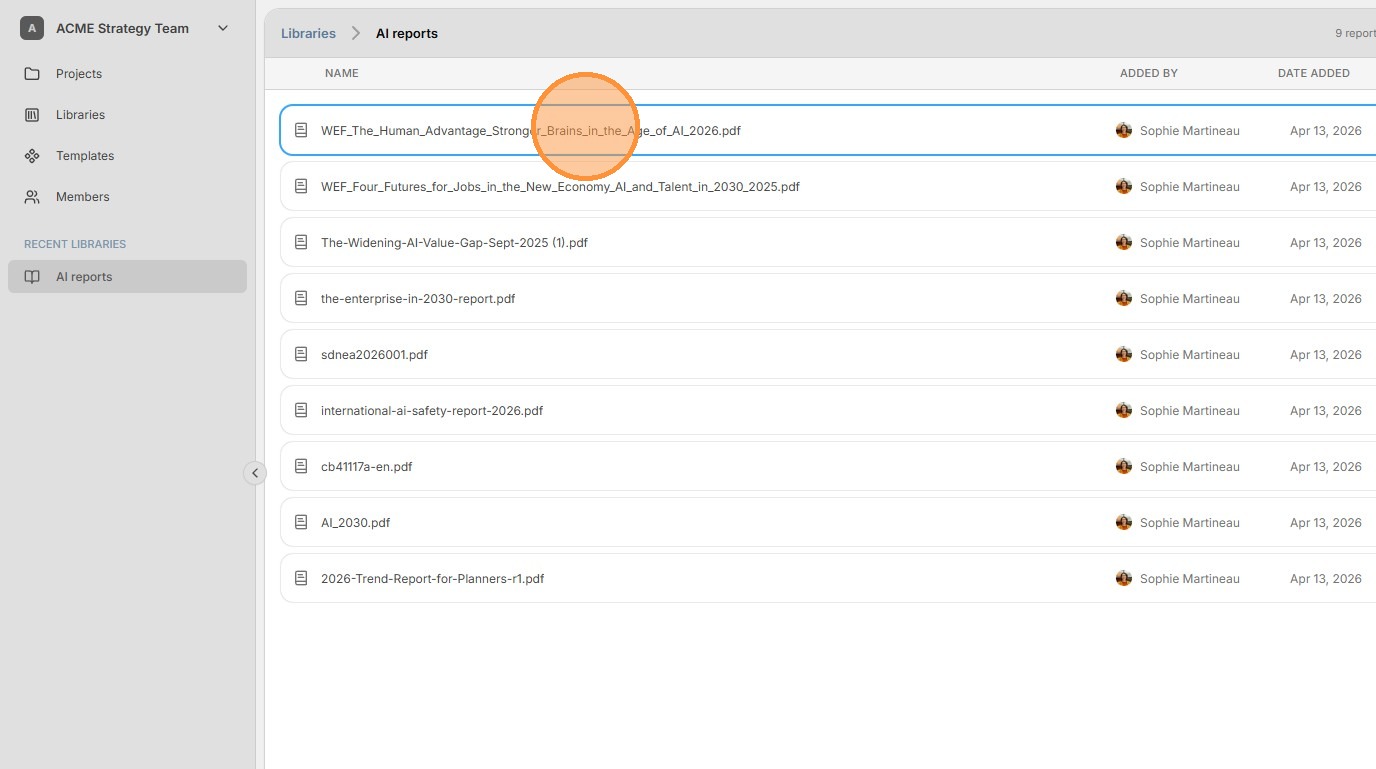
11. Clicking a document in the library list opens a summary report generated by the AI agent. To open the actual document, click Open Report.
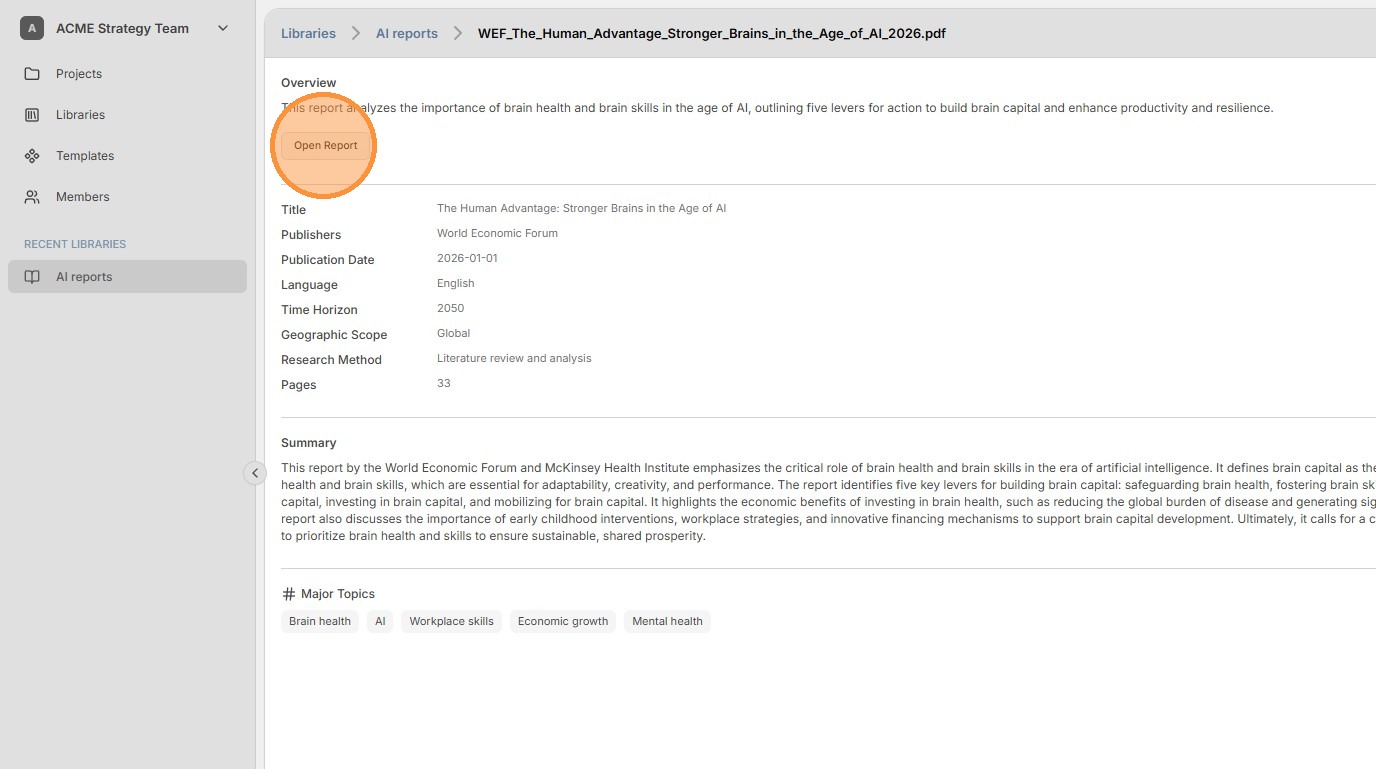
12. All documents in libraries can be viewed with the built-in PDF reader.

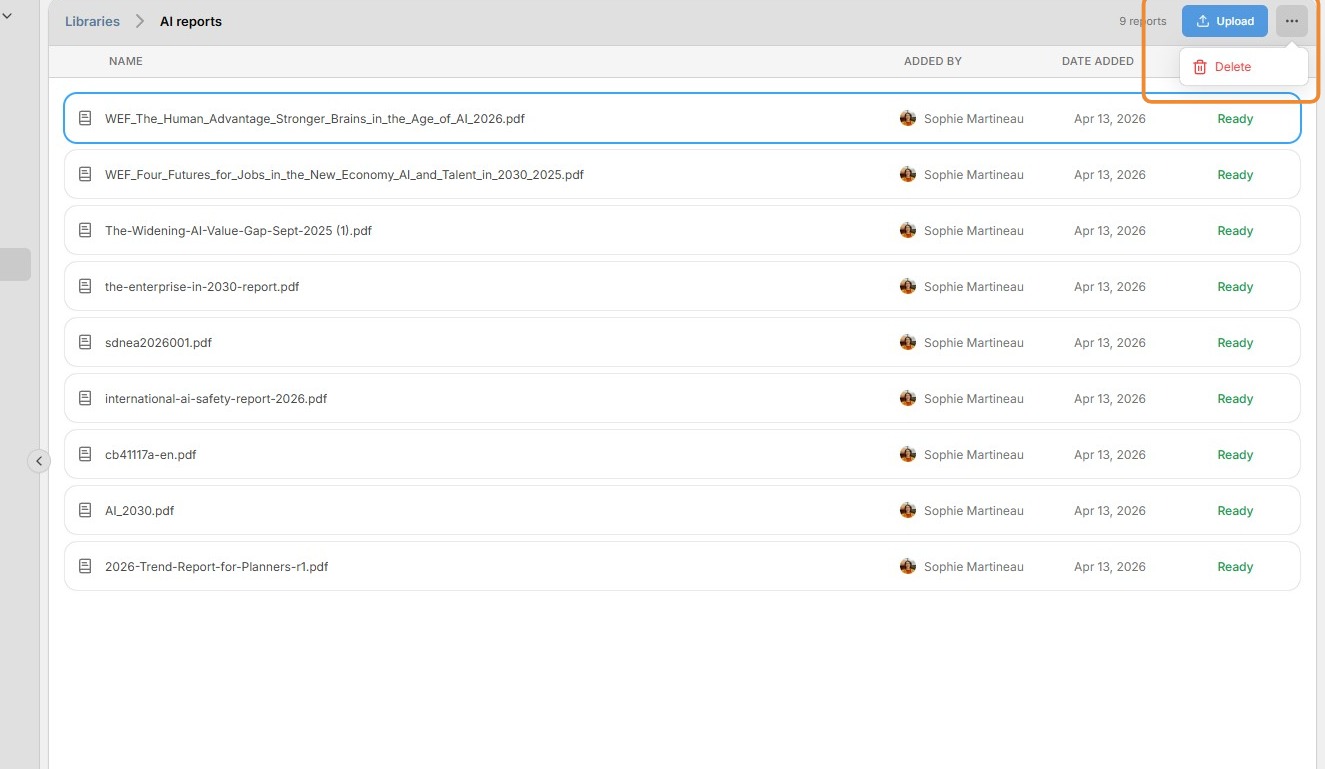
13. To delete a report from a library, select the document in the list, then click the ... button in the top-right corner and select Delete.
14. Returning to the Libraries section of the workspace, the new report is now listed under Workspace Libraries.

15. You can manage the library by selecting it and clicking the ... button in the top-right corner. Under Library Settings you can modify the library name, image, and sharing permissions.
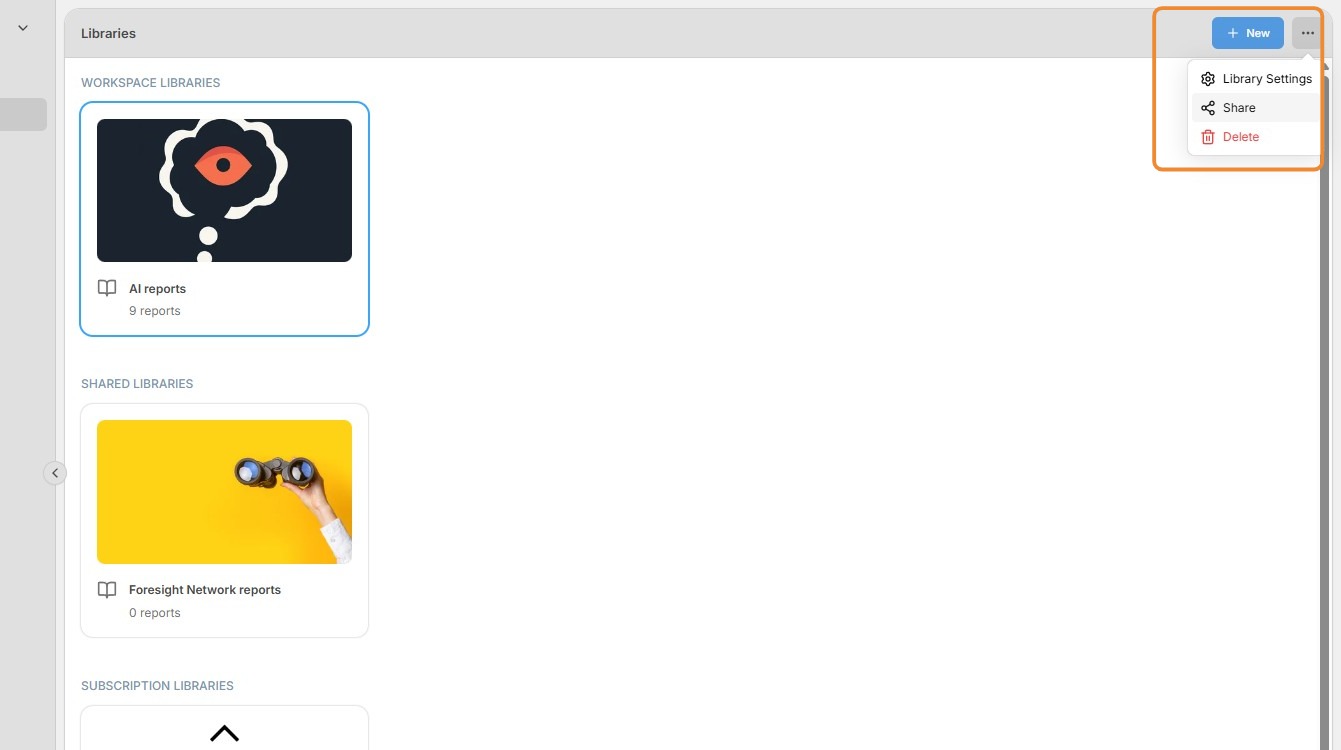
16. To change sharing permissions, open Library Settings and select Workspace-Level to enable workspace users to share the library with other workspaces they belong to.
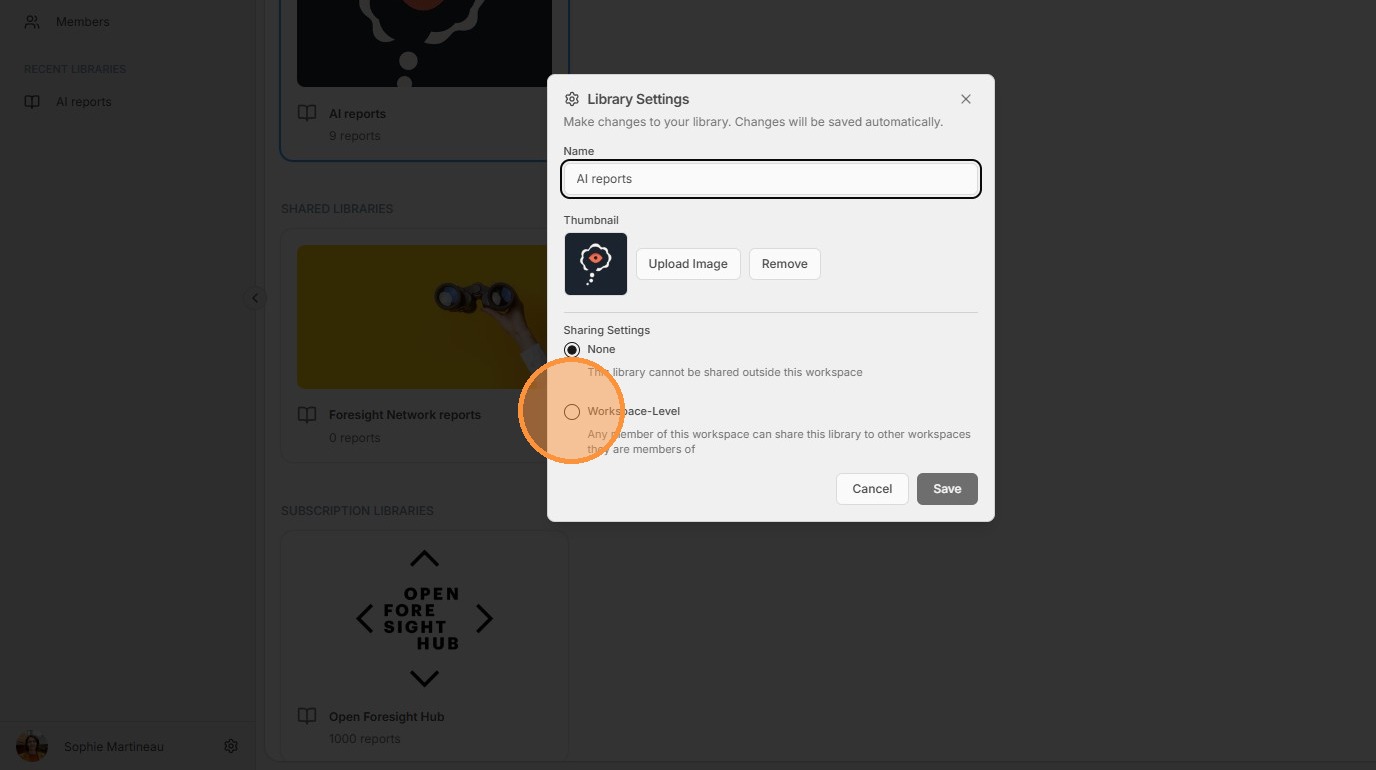
17. Once Workspace-Level sharing is enabled, users can share the library by clicking Share in the top-right menu.
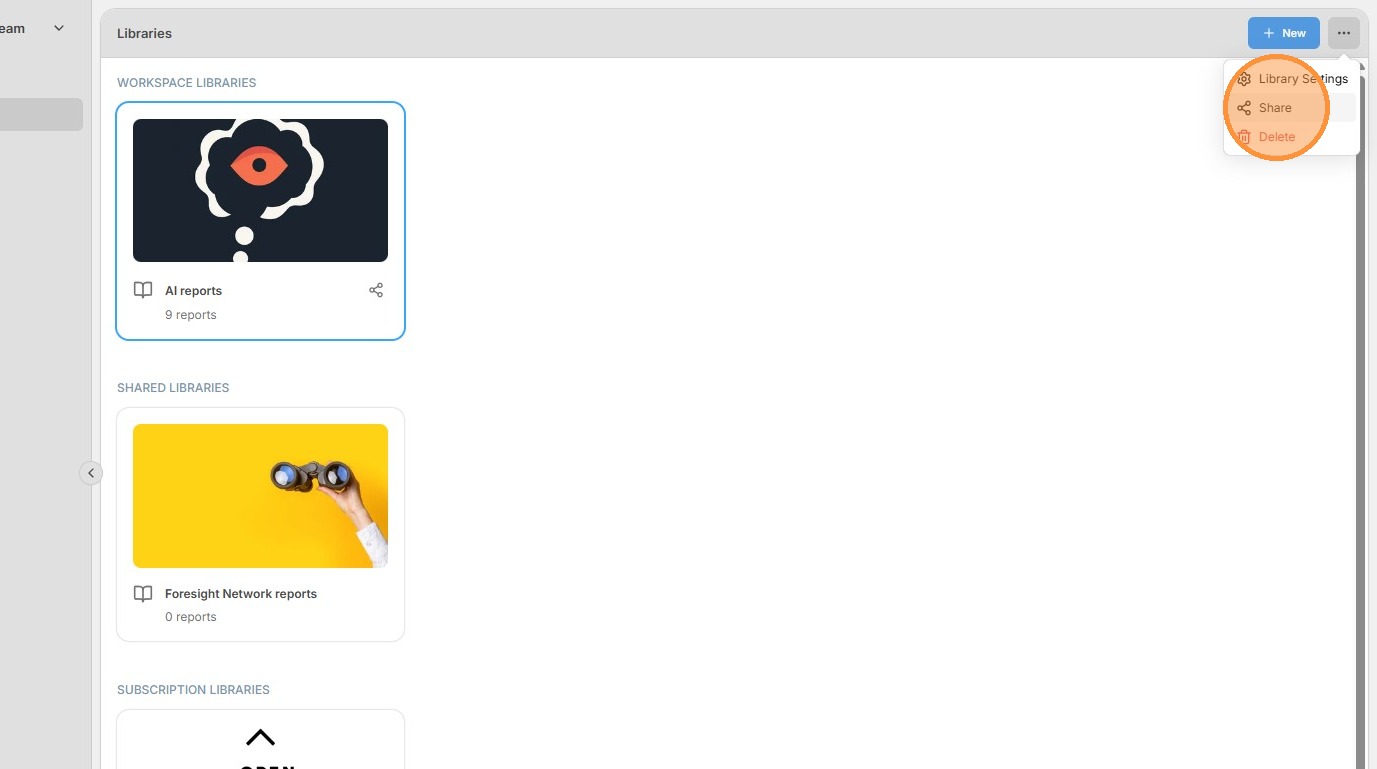
18. A dialog box will open listing the workspaces the user belongs to. The user can select which workspaces to share the library with.
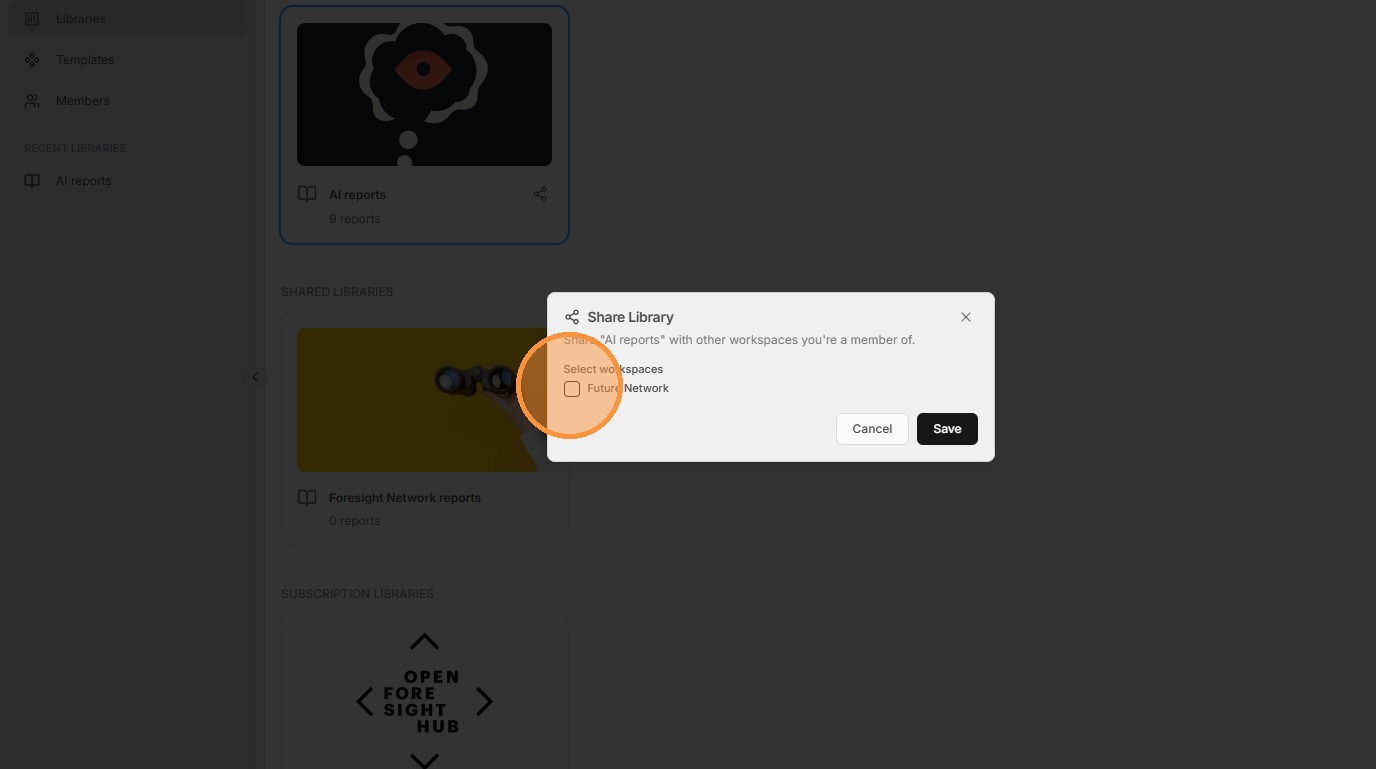
19. The shared library will now appear under Shared Libraries in the workspace(s) it was shared with.